This article was fact checked & last verified by Daniel Fazekas in:
Blog
Authenticate to Firebase with Google OAuth in a Managed Expo Workflow React Native Application that is compatible with Expo Go
Authenticate to Firebase with Google OAuth in a Managed Expo Workflow React Native Application that is compatible with Expo Go
We will guide you through the process of setting up a Firebase Authentication with Google OAuth login that is Expo Go compatible in a React Native Expo app that utilizes a managed workflow with Typescript.
Written by
Dénes Gutai
Last updated
MAR 02, 2026
Topics
#dev
Length
7 min read
Table of contents
2024 Update: We recommend you to avoid using Expo Go at all if you implement OAuth. Opt-in for expo-dev-client which provides a similar DX, but has no limitations with deep linking.
Intro and prerequisites
In this article, we will guide you through the process of setting up a Firebase Authentication with Google OAuth login that is Expo Go compatible in a React Native Expo app that utilizes a managed workflow with Typescript. We discovered that the original documentation provided by Expo and Firebase was somewhat incomplete regarding this topic, and our intention is to fill in those gaps for you.
UPDATE: Though this solution will make the development phase easier, since there is no need to configure your and your team's environment to build native code, from Expo SDK 49 the GoogleAuth provider became deprecated. For more information on this change, please follow Expo's guidance. If you are just interested in the necessary modifications for production compatibility, there is a fantastic Medium article, which points out how the @react-native-google-signin/google-signin can interact with Firebase.
The code from this article can be found in this github repository.
The packages we'll need (with versions)
Google Cloud project setup
Creating the project
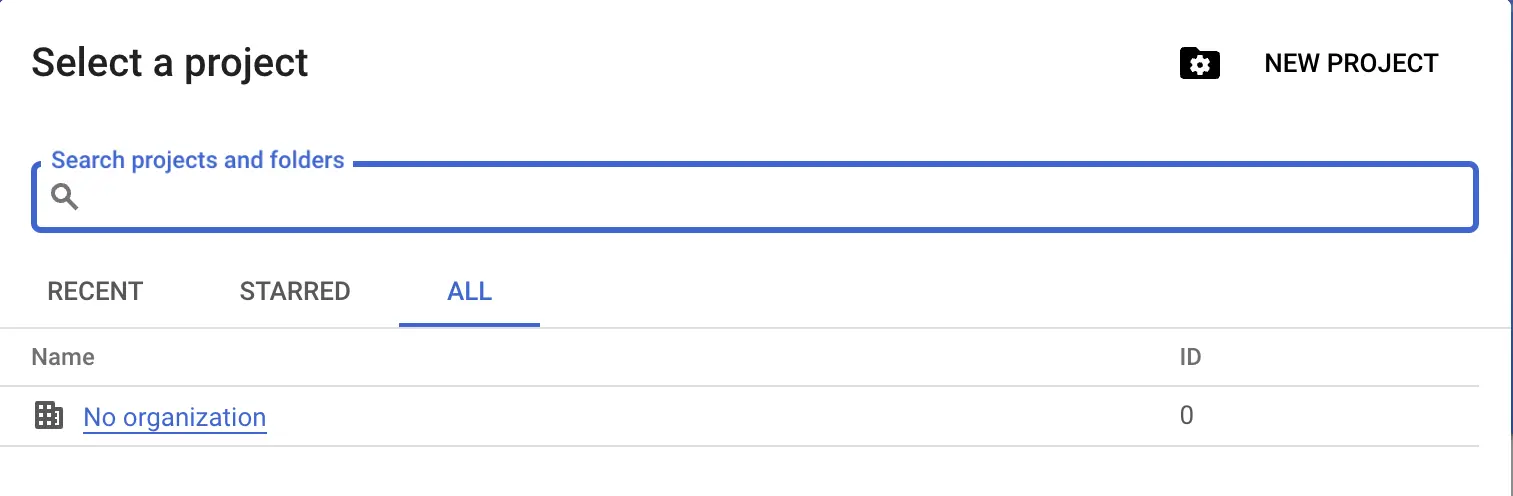
First we'll set up a google cloud project.
Head to https://console.cloud.google.com/
In the Select Project dropdown click on the New Project button
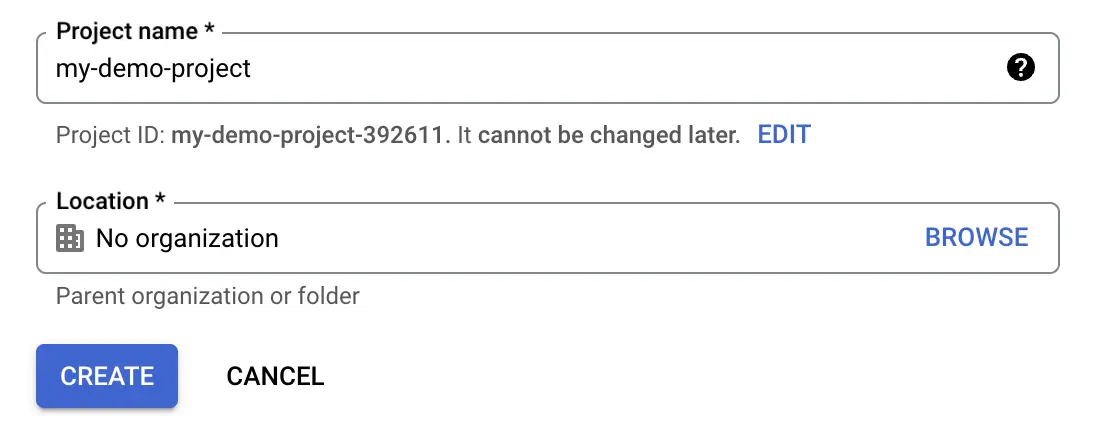
Fill out the form
Now head to https://console.cloud.google.com/apis/credentials
If this is your first project you have to setup a consent screen by clicking on Configure Consent Screen

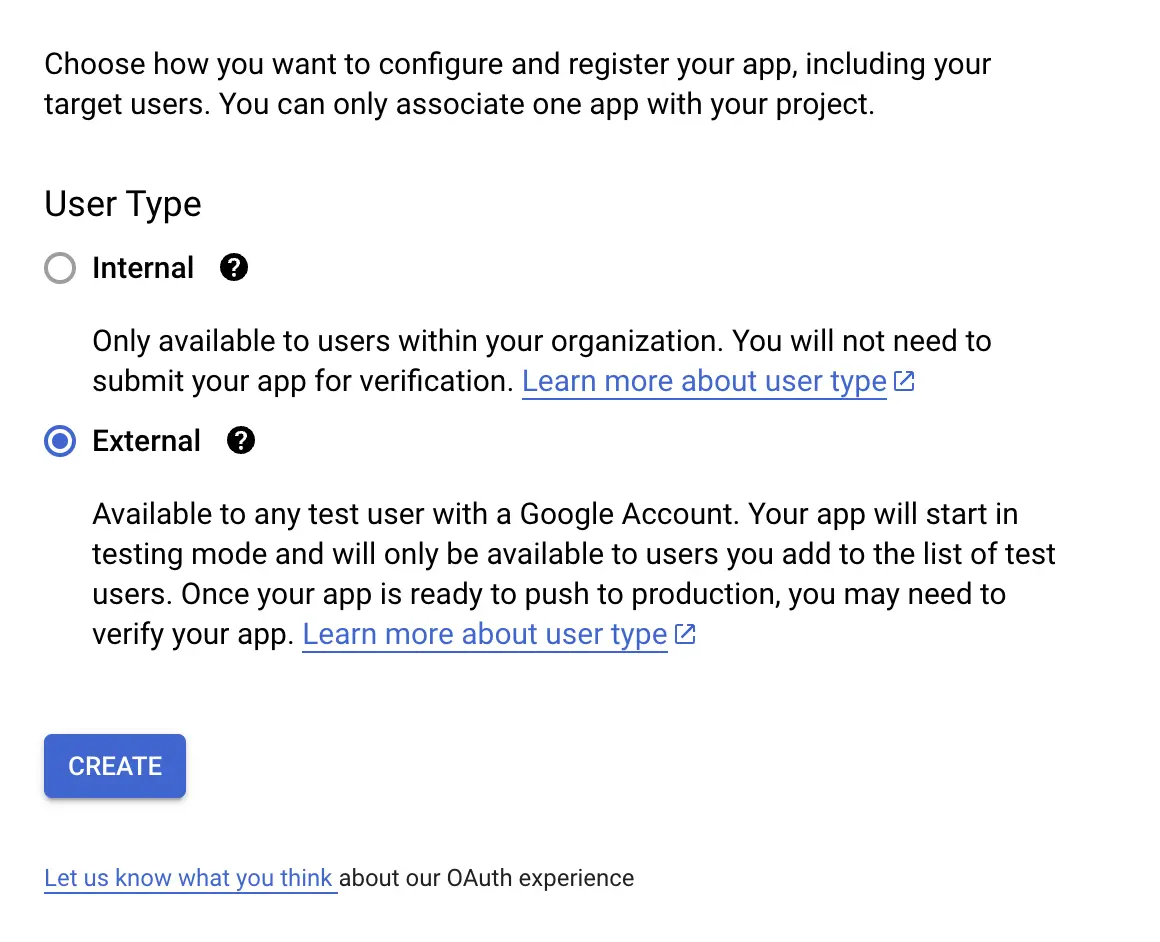
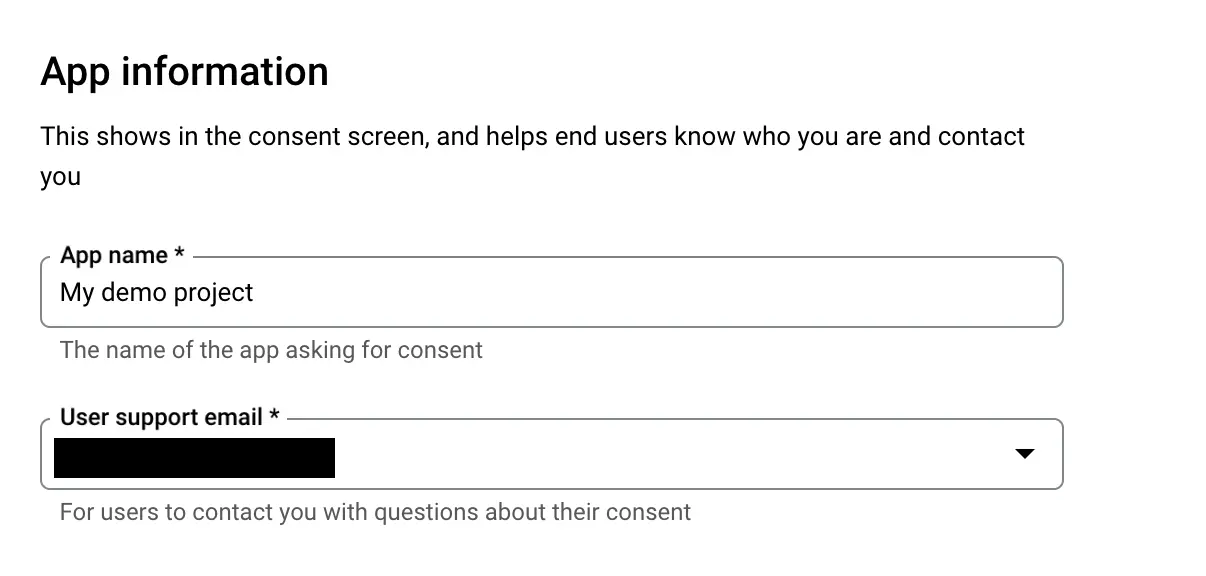
Consent screen
We'll set this up to external users so other people will be able to test it too
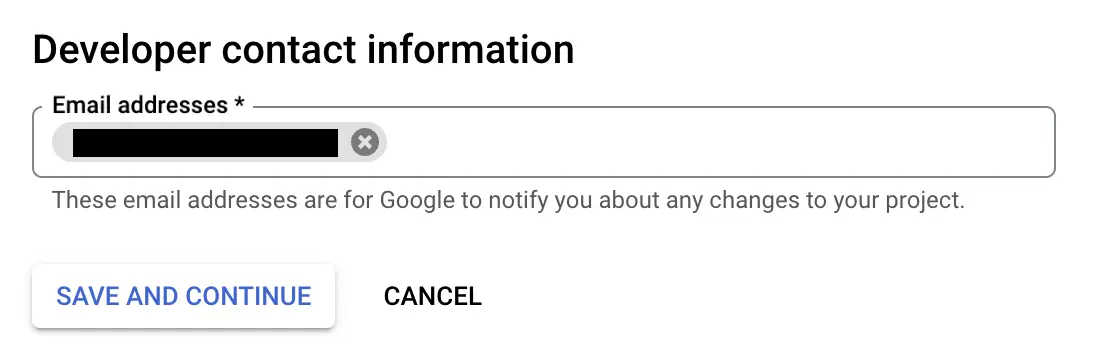
Setup required app information
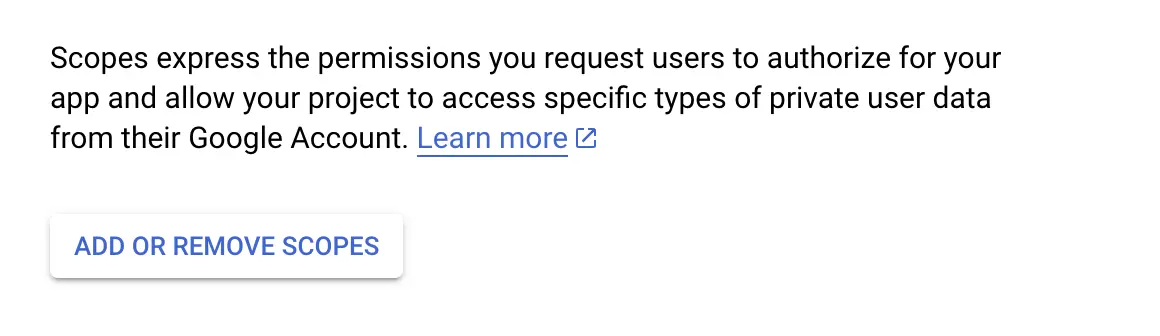
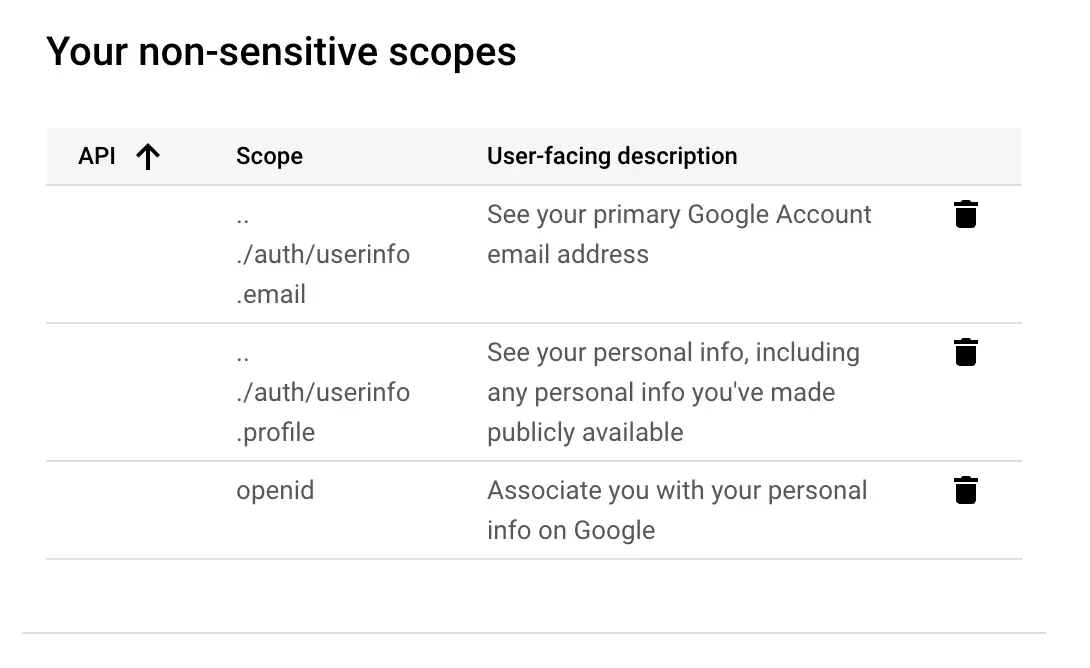
Now we need to add what kind of scopes we'd like to get access to for a user
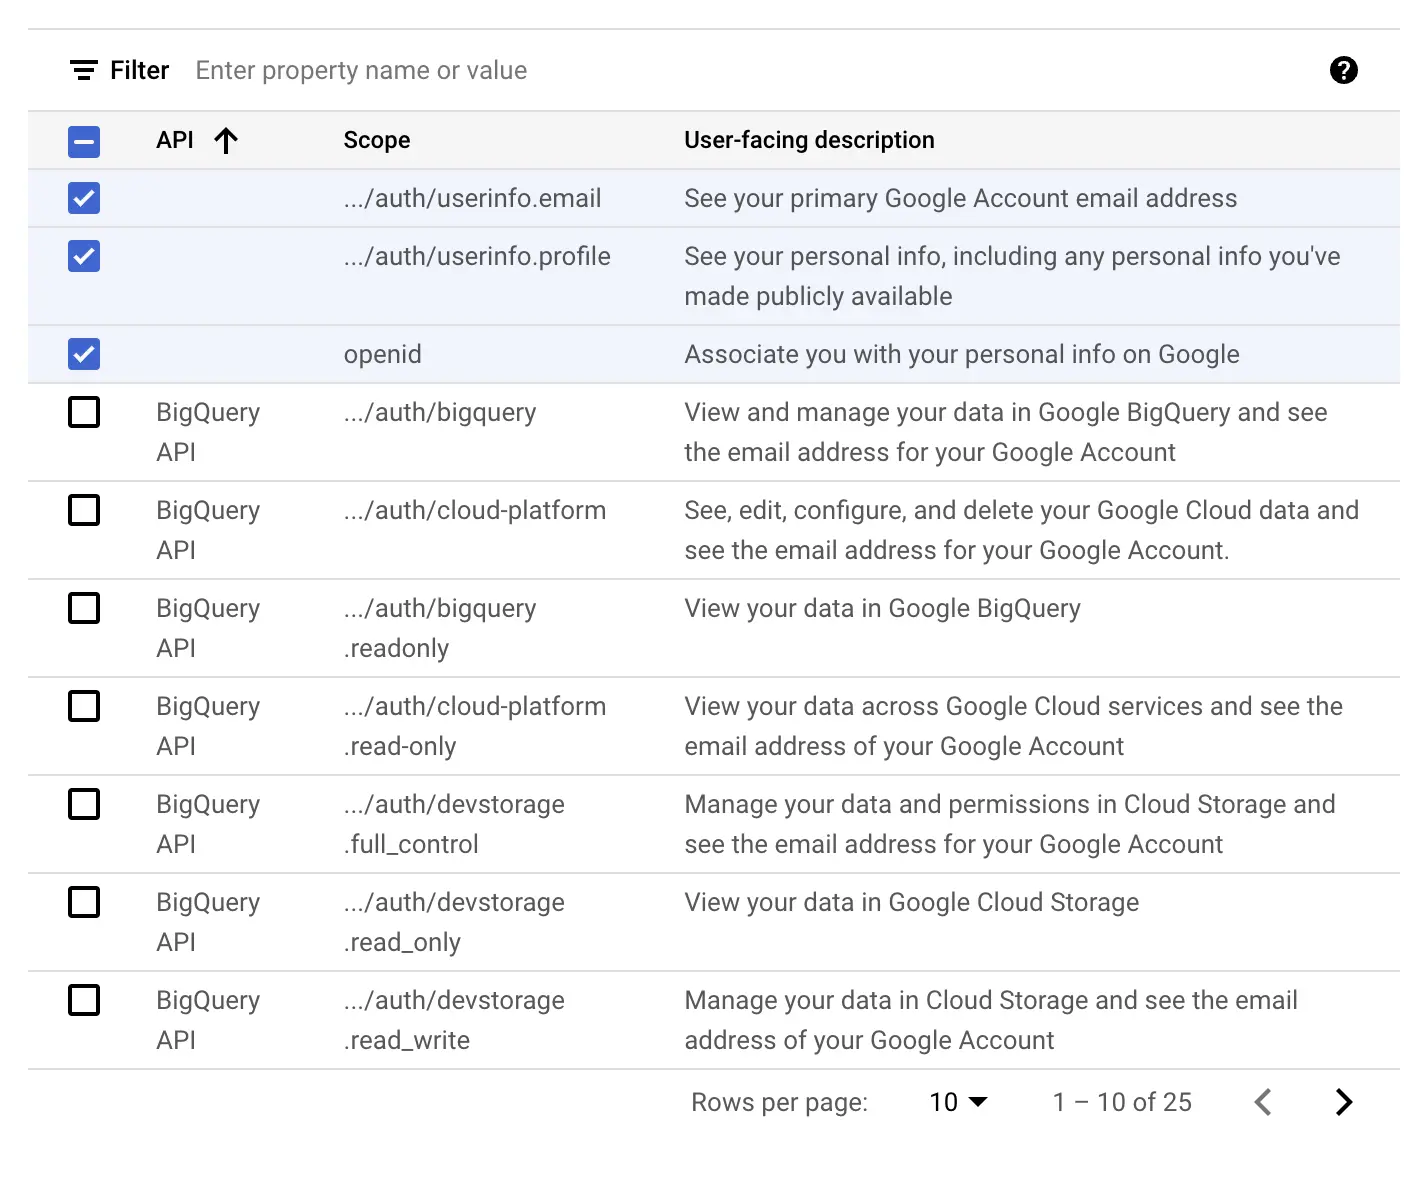
After selecting them this is what we should see
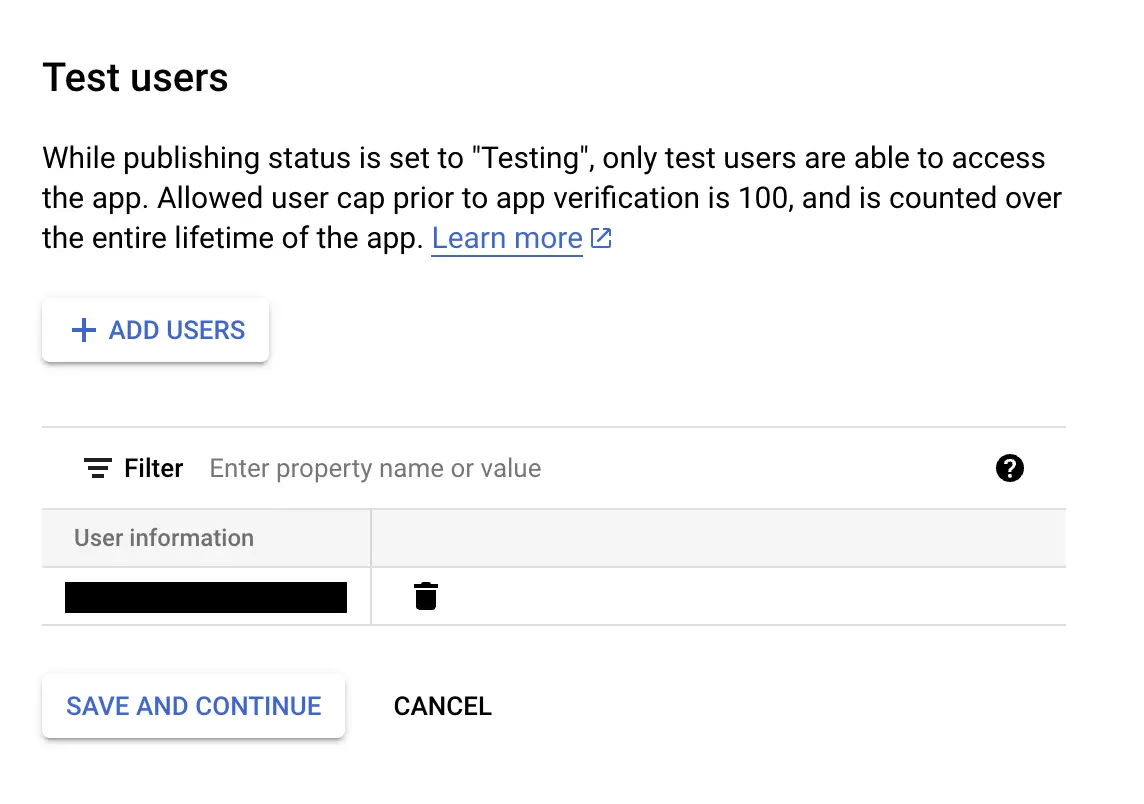
After this we need to set up our test users who will be able to log in in our app
OAuth client
Okay, let's head back to https://console.cloud.google.com/apis/credentials and create our OAuth client. We'll need 3 different OAuth clients.
- One for development mode (Web)
- Two additional for the mobile platforms (Android, iOS)
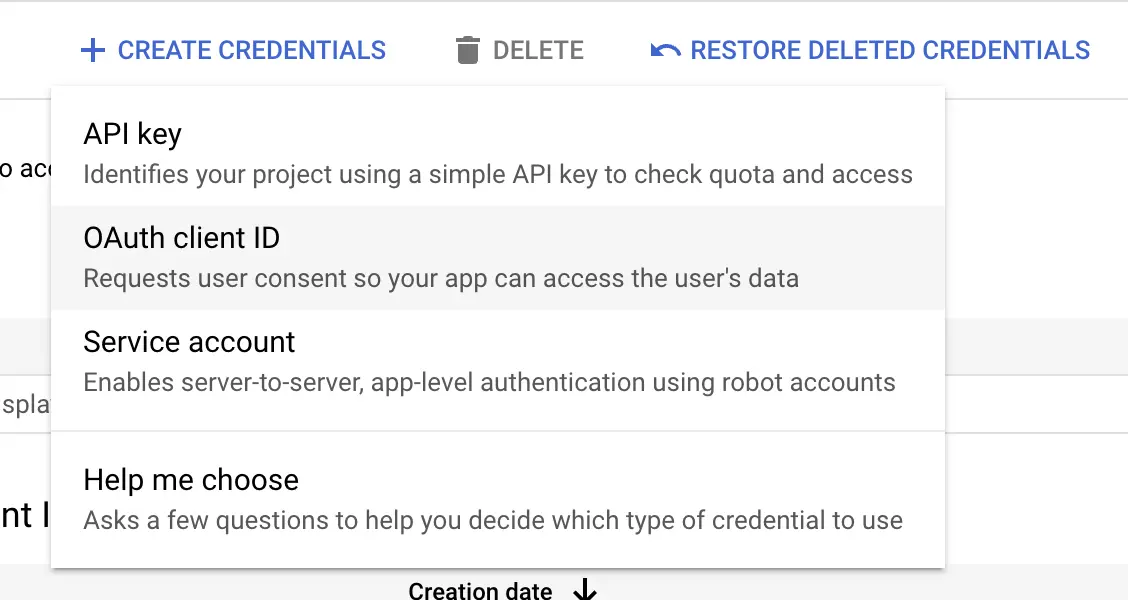
On the top of the screen click on the + Create Credentials button and select OAuth client ID.
Web Client
This client has a purpose to let us work with the authentication in development mode. This will let us to stay in the Expo Go application and we will not need to change to bare workflow or prebuild our application every time.
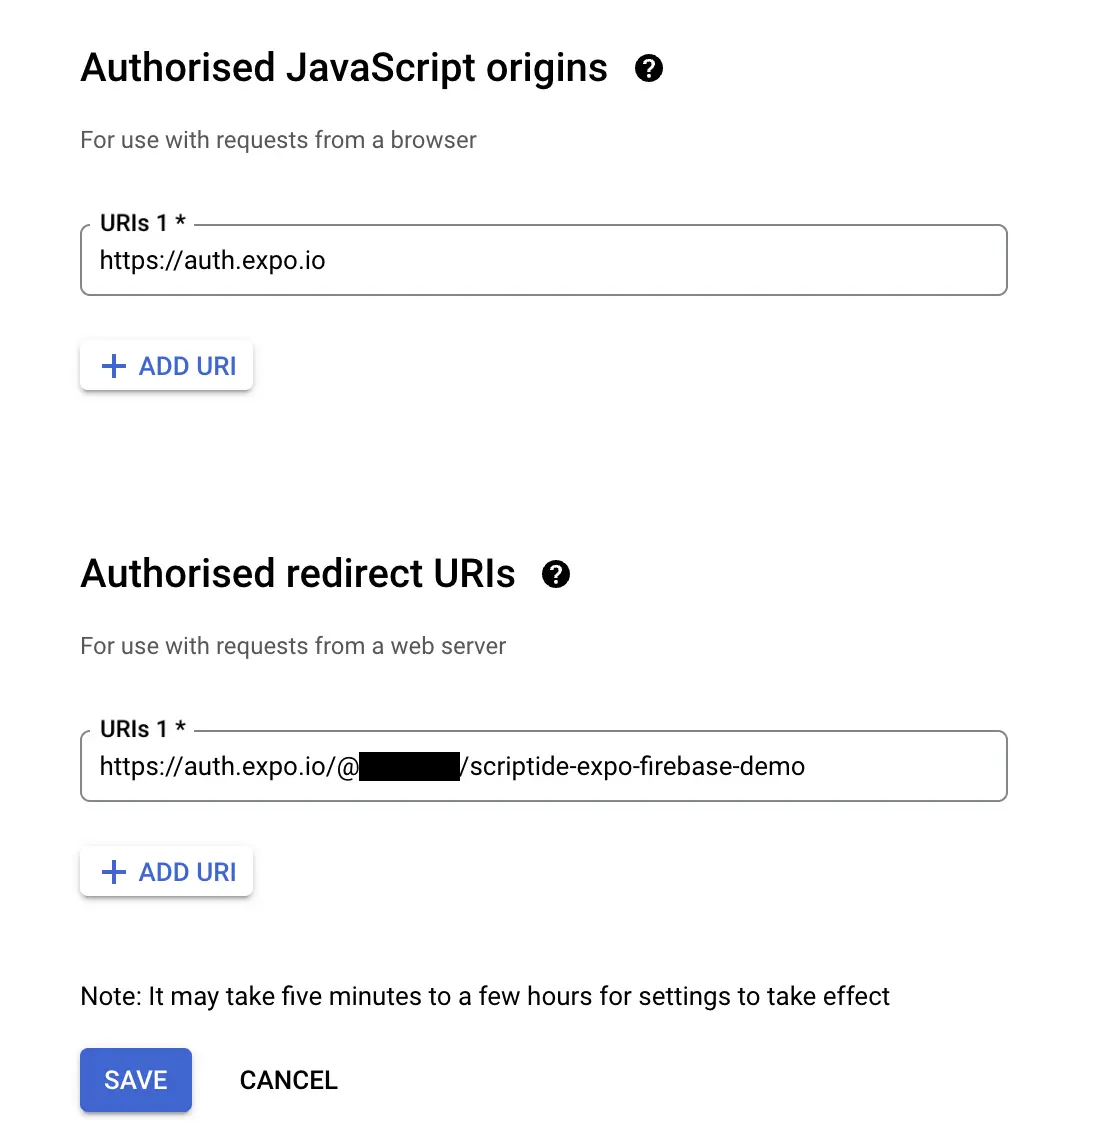
Set our application type to Web Application and add a name to it.

Now we need to add the origin and redirect URIs. The origin should be https://auth.expo.io. The redirect should be in the following format https://auth.expo.io/@EXPO_CLI_USERNAME/PROJECT_SLUG
- The
EXPO_CLI_USERNAMEis your username which you use to login to Expo. - The
SLUGis the application's slug that can be set in theapp.jsonorapp.config.(js|ts).
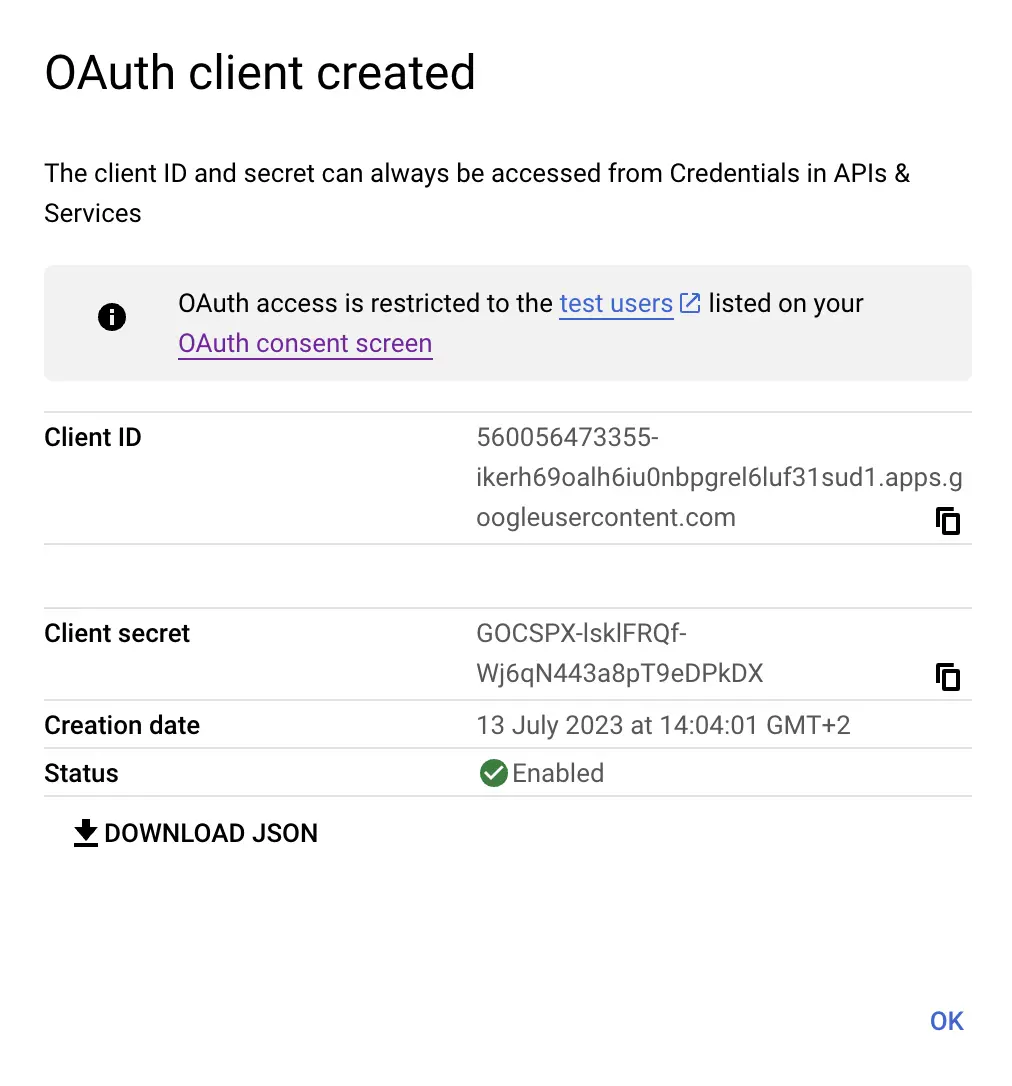
It will generate the Google OAuth Client ID that we'll use for expo.
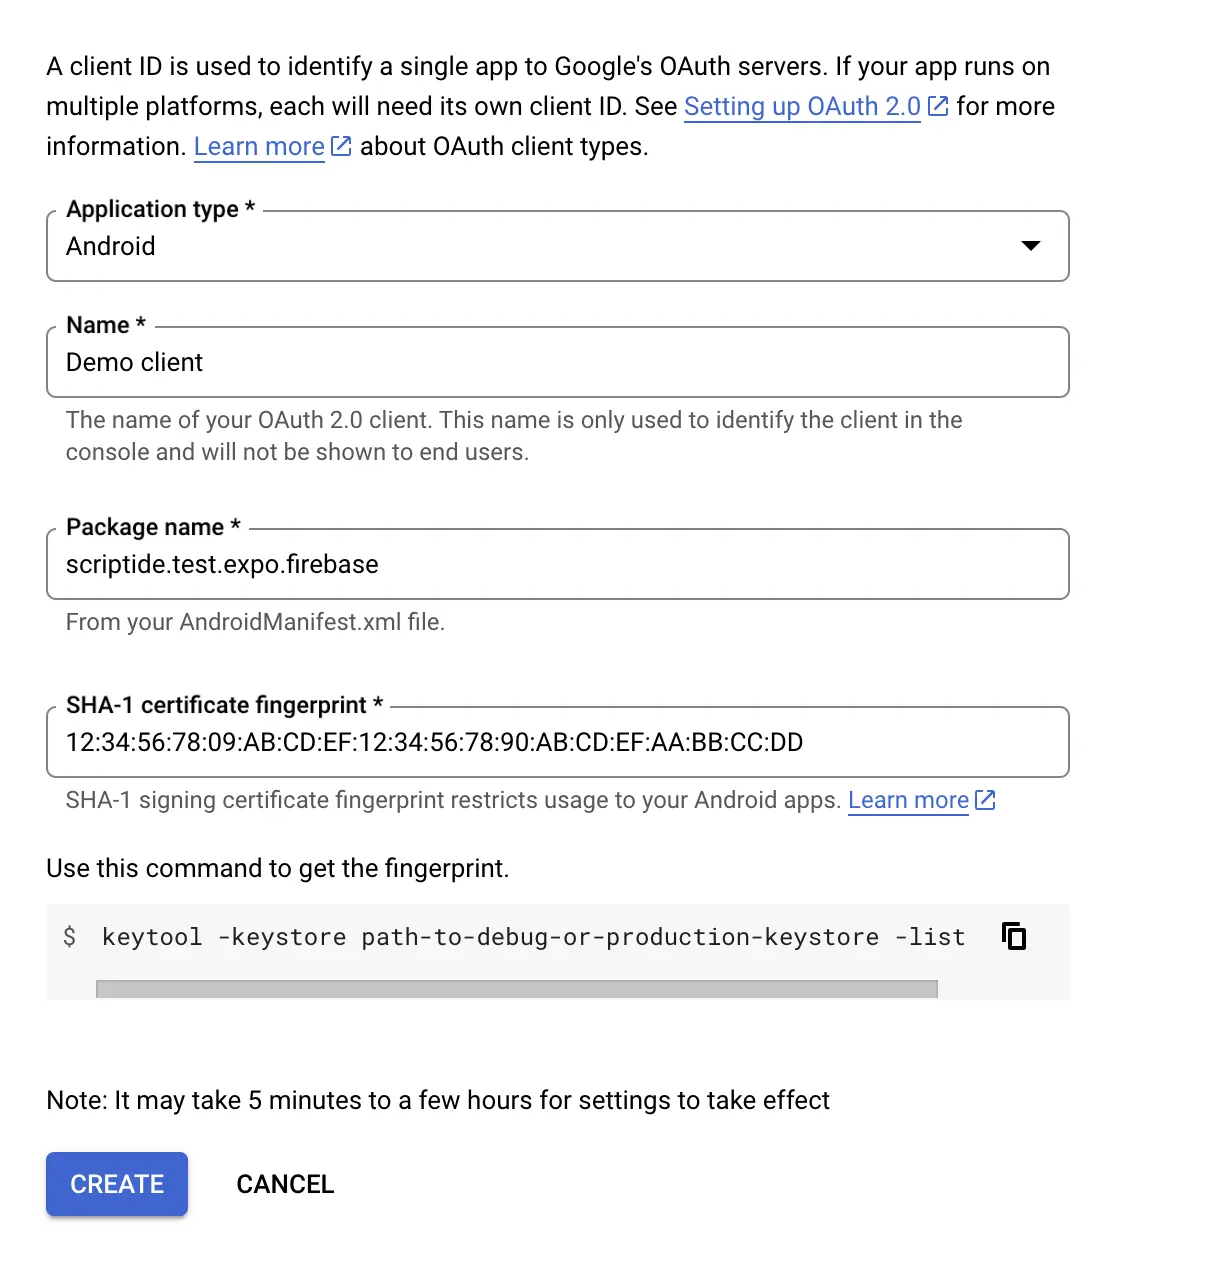
Android
This client will provide our Android platform's id. It will require us to add our Android Package name (found in app config as well) and an android keystore's fingerprint that will be used for signing the app.
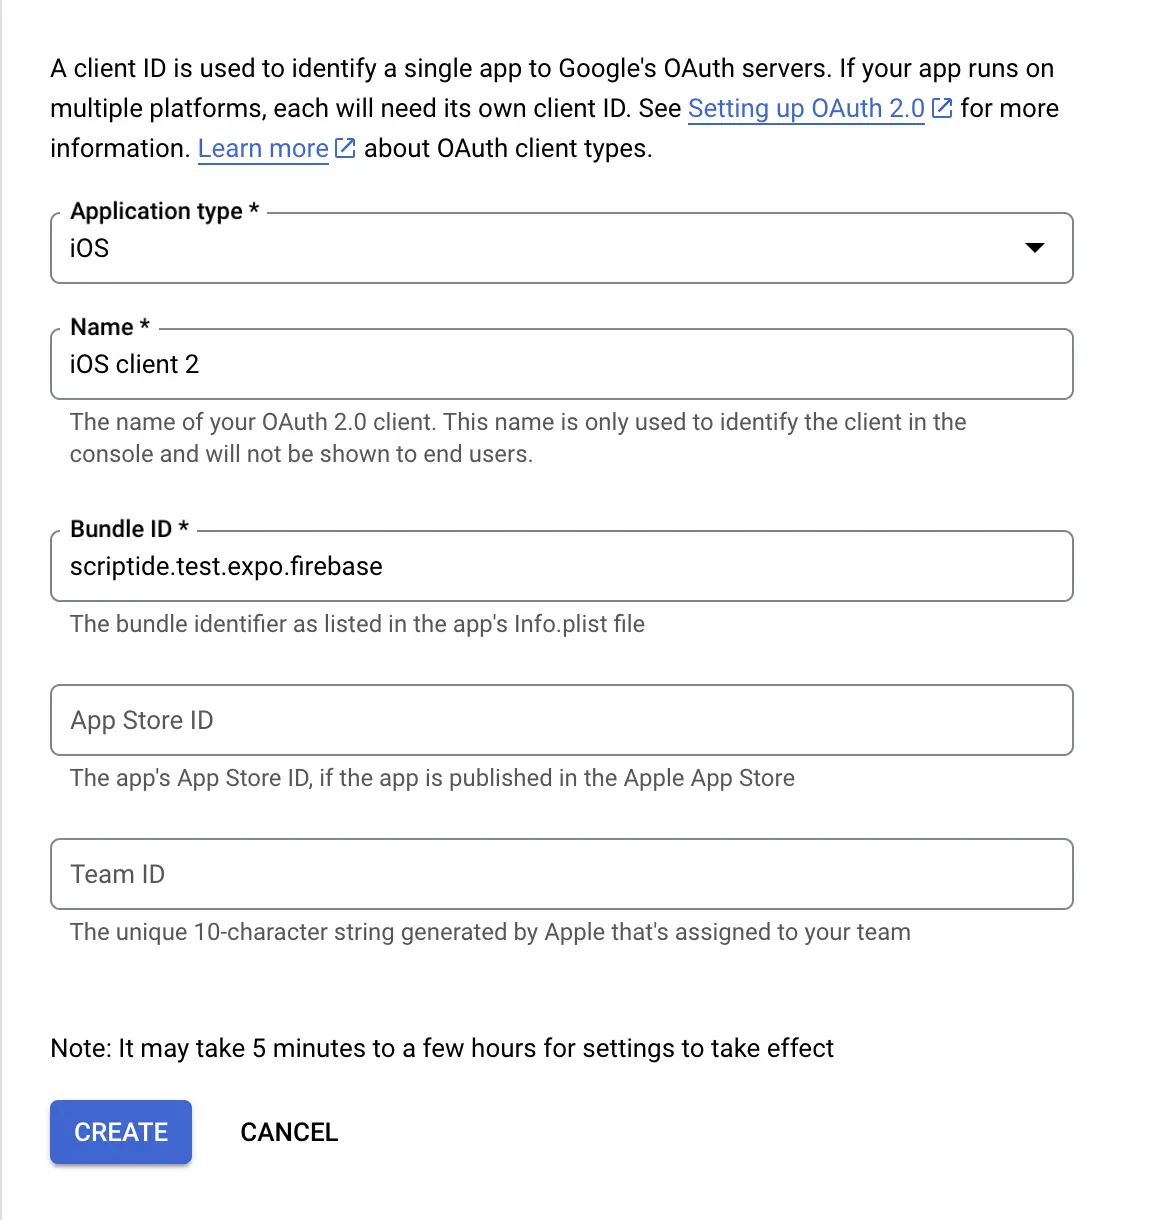
iOS
This client will provide our iOS platform's id. It will require us to add our Bunld identifier (found in app config as well)
Firebase project setup
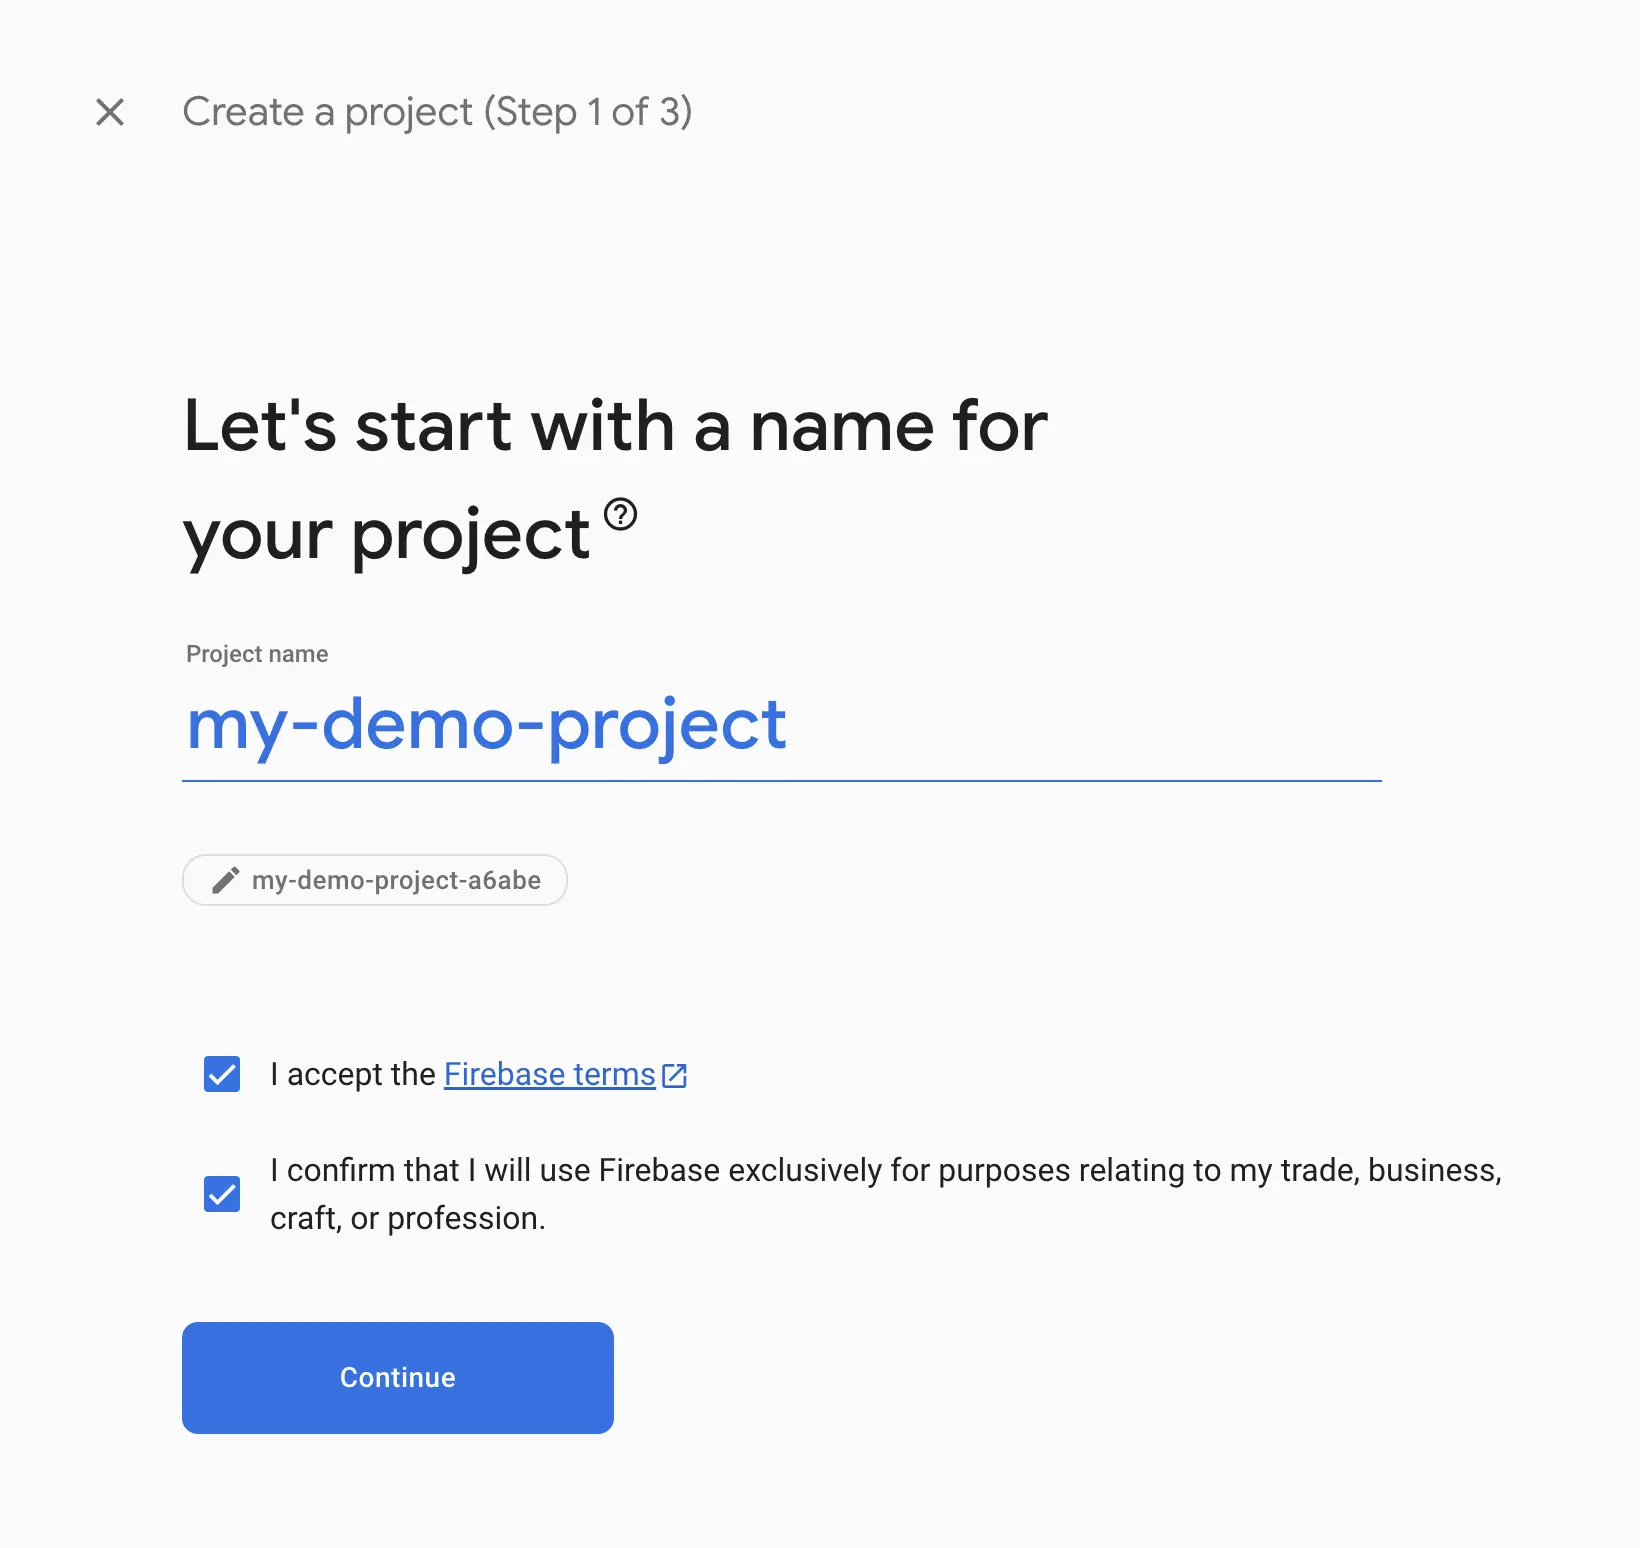
Open https://console.firebase.google.com/ and create a new project.
NOTE: We will not include analytics for the project because setting that up would require us to move to bare workflow.

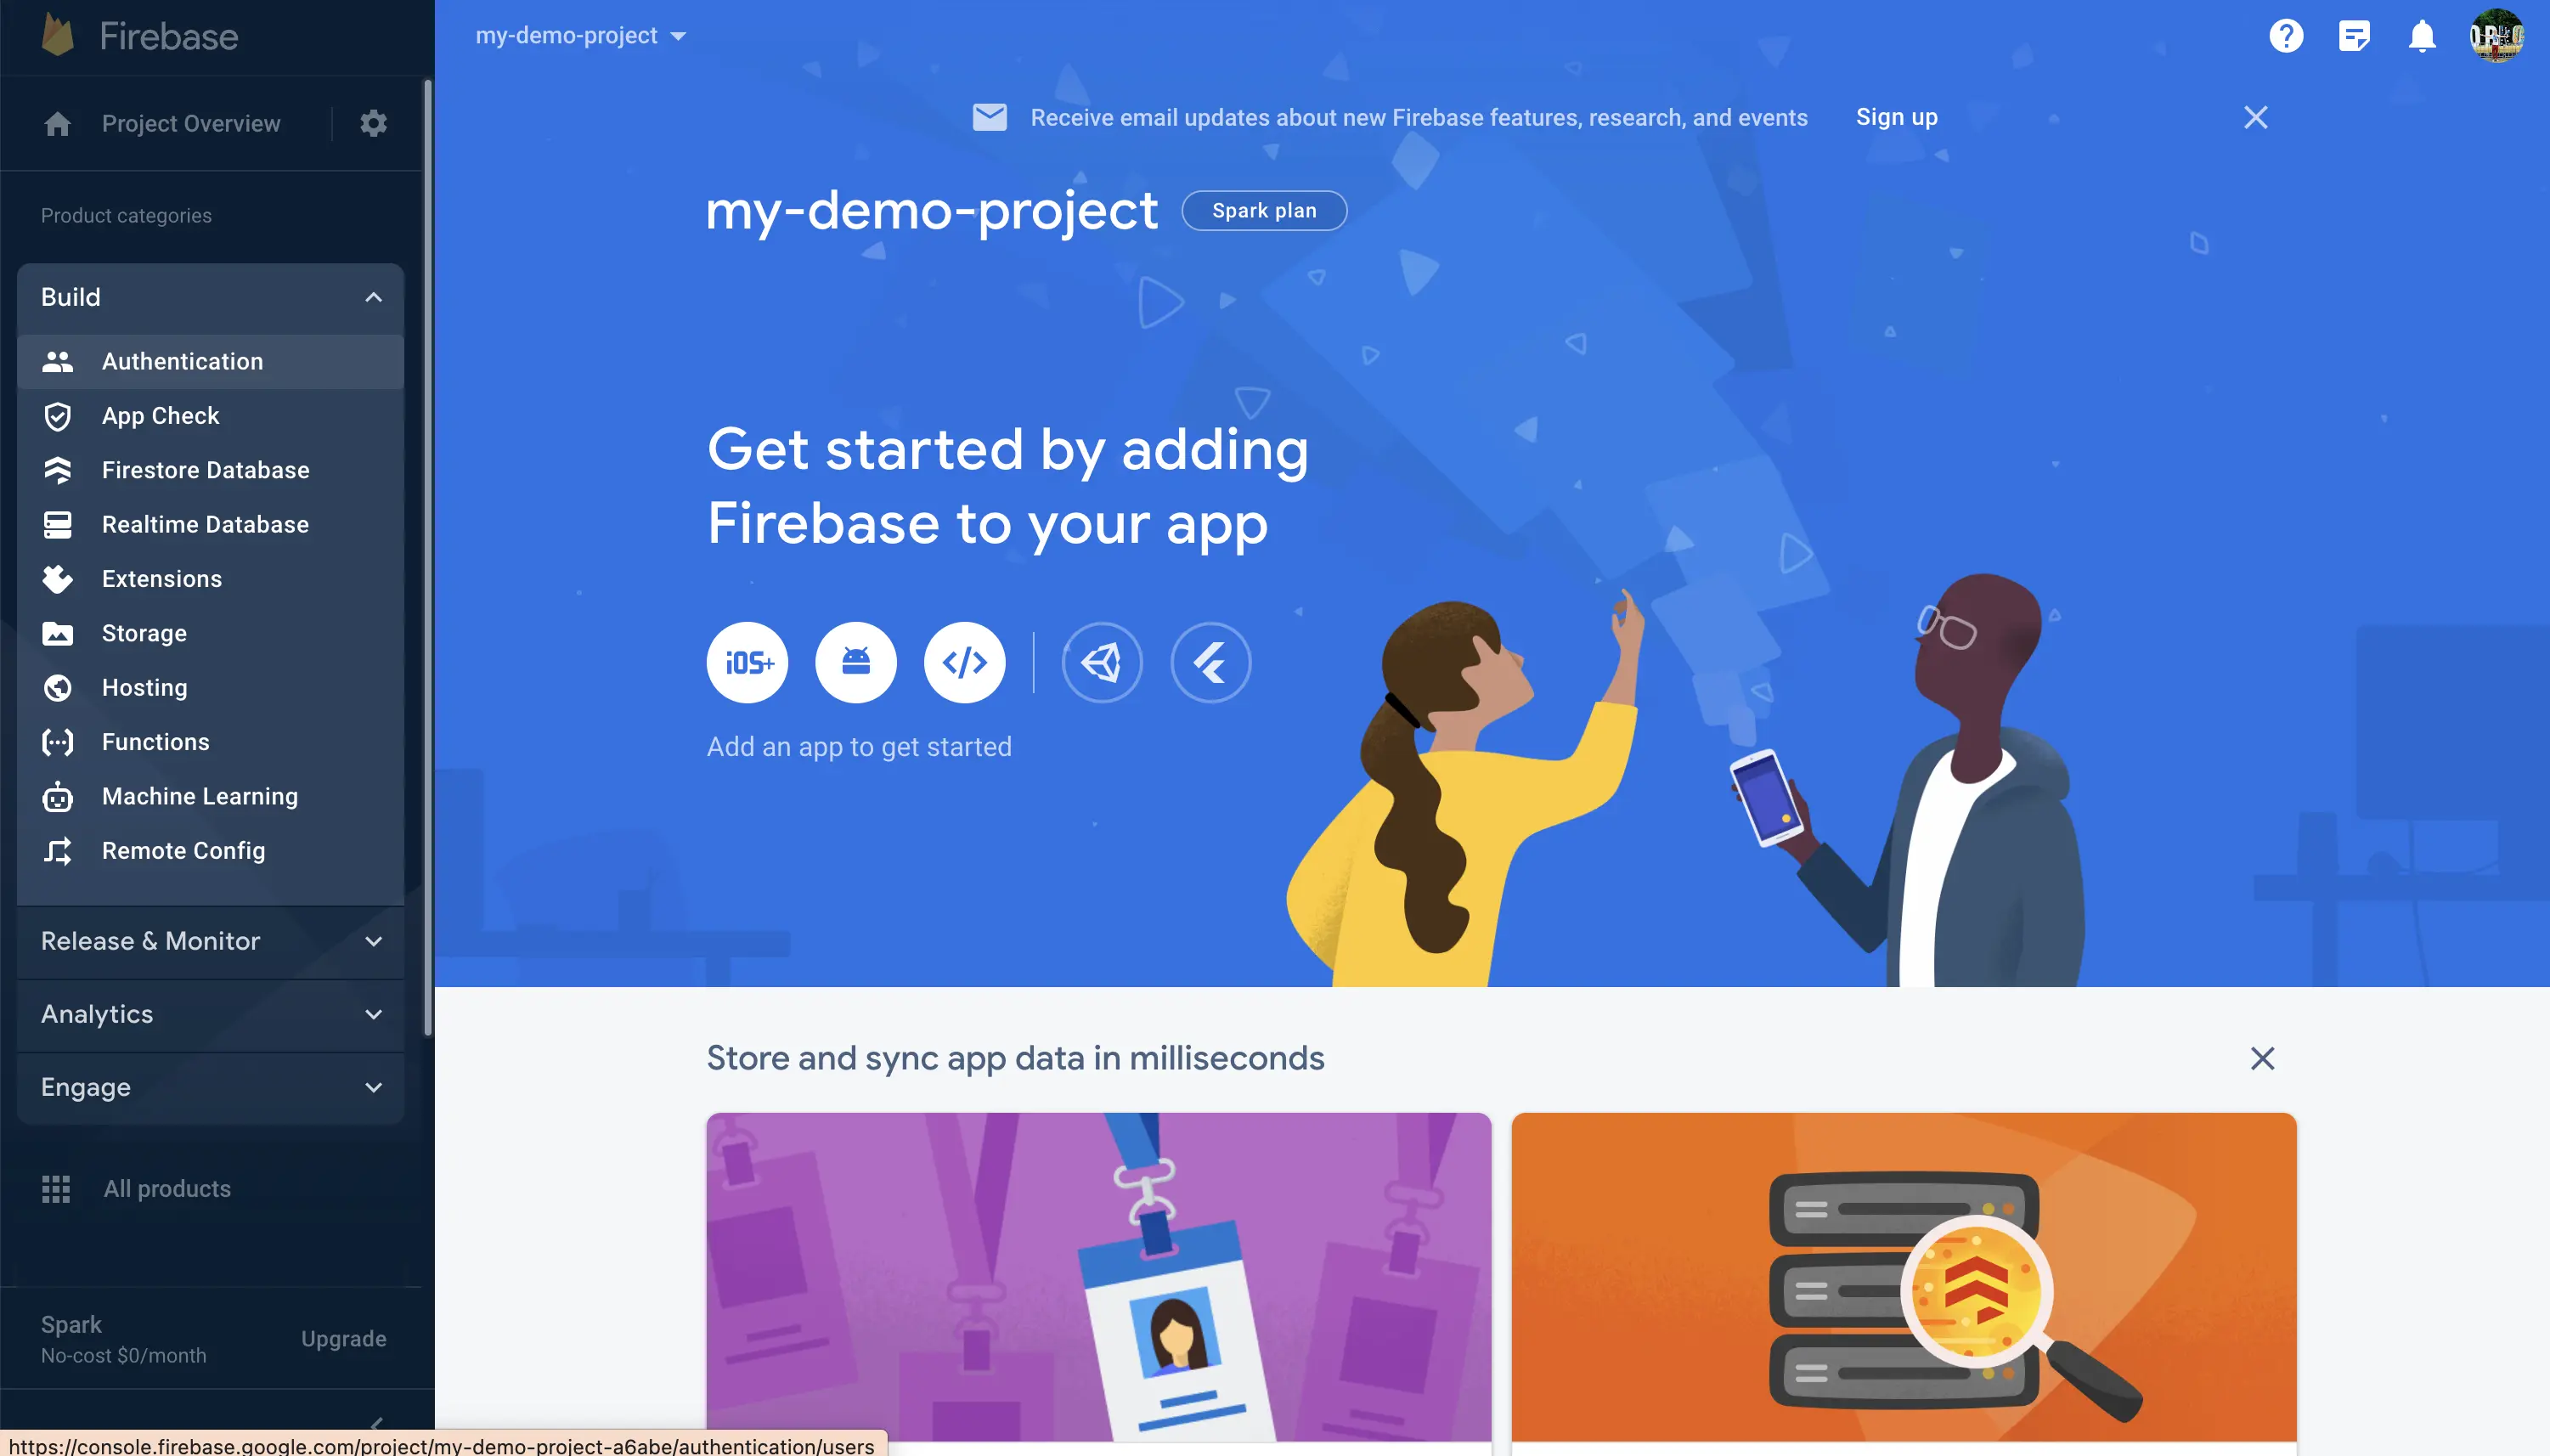
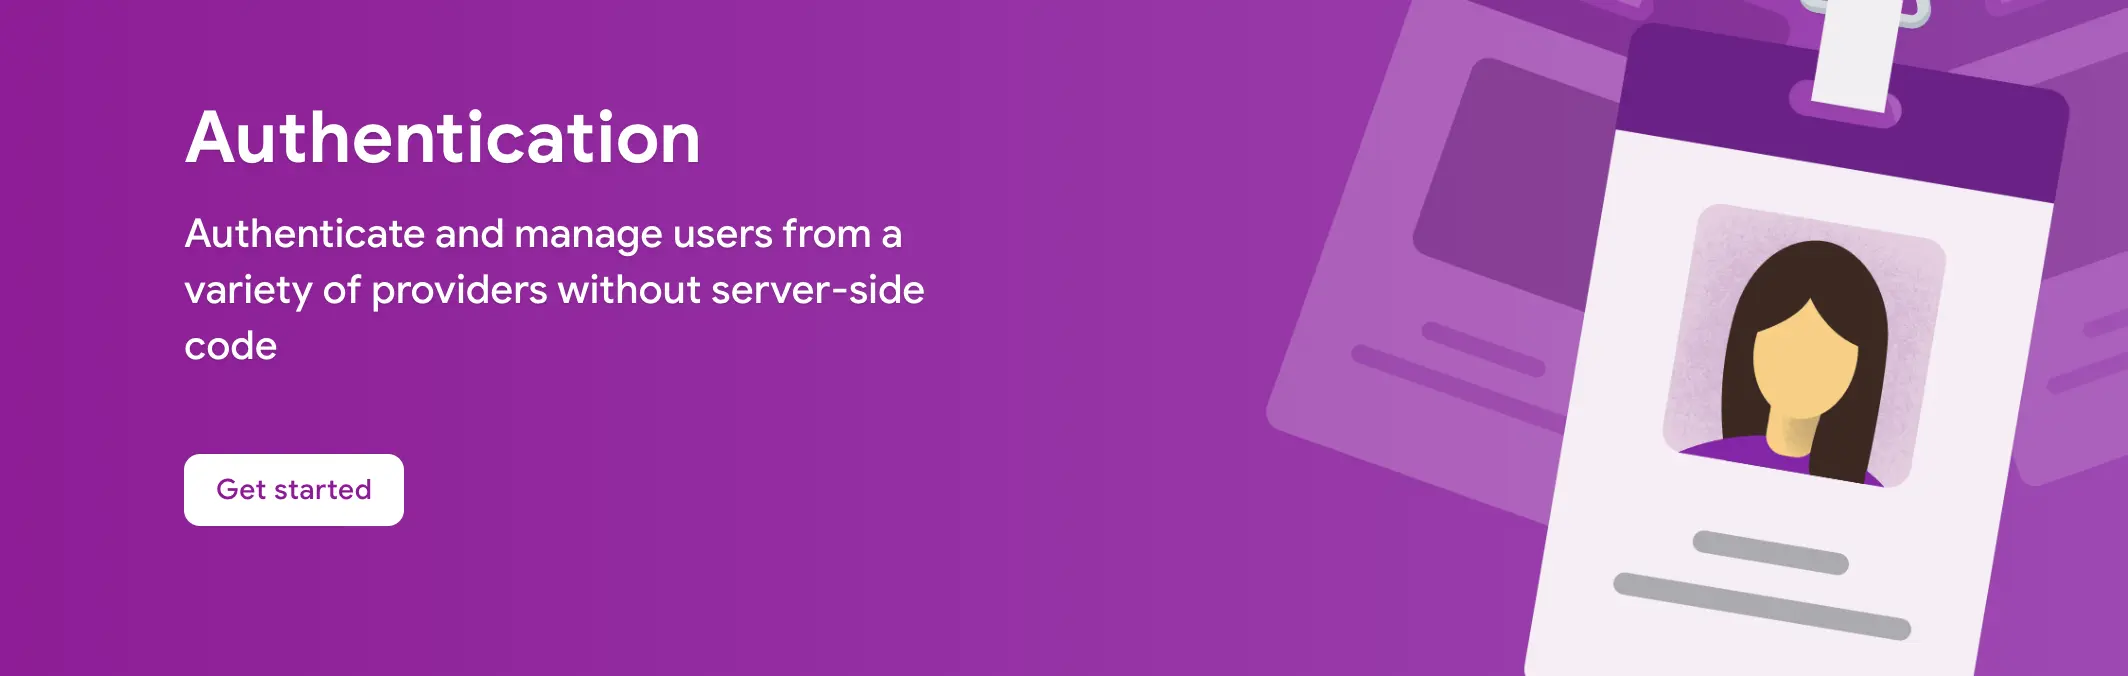
After this we'll add Authentication to our Firebase project
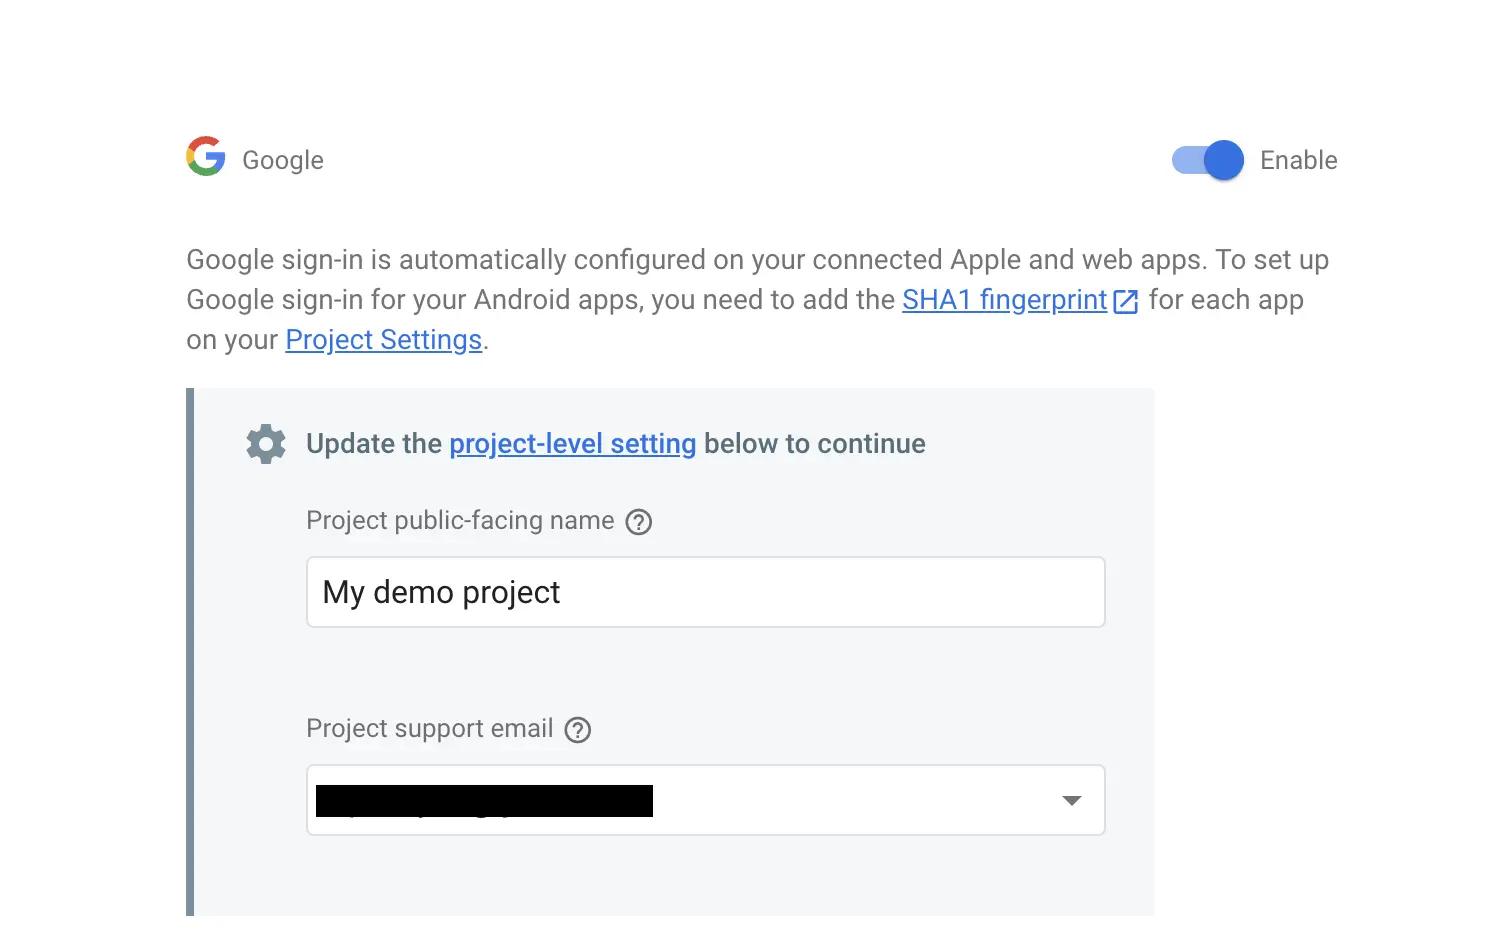
On the Sign-in methods tab we'll add Google as our provider.
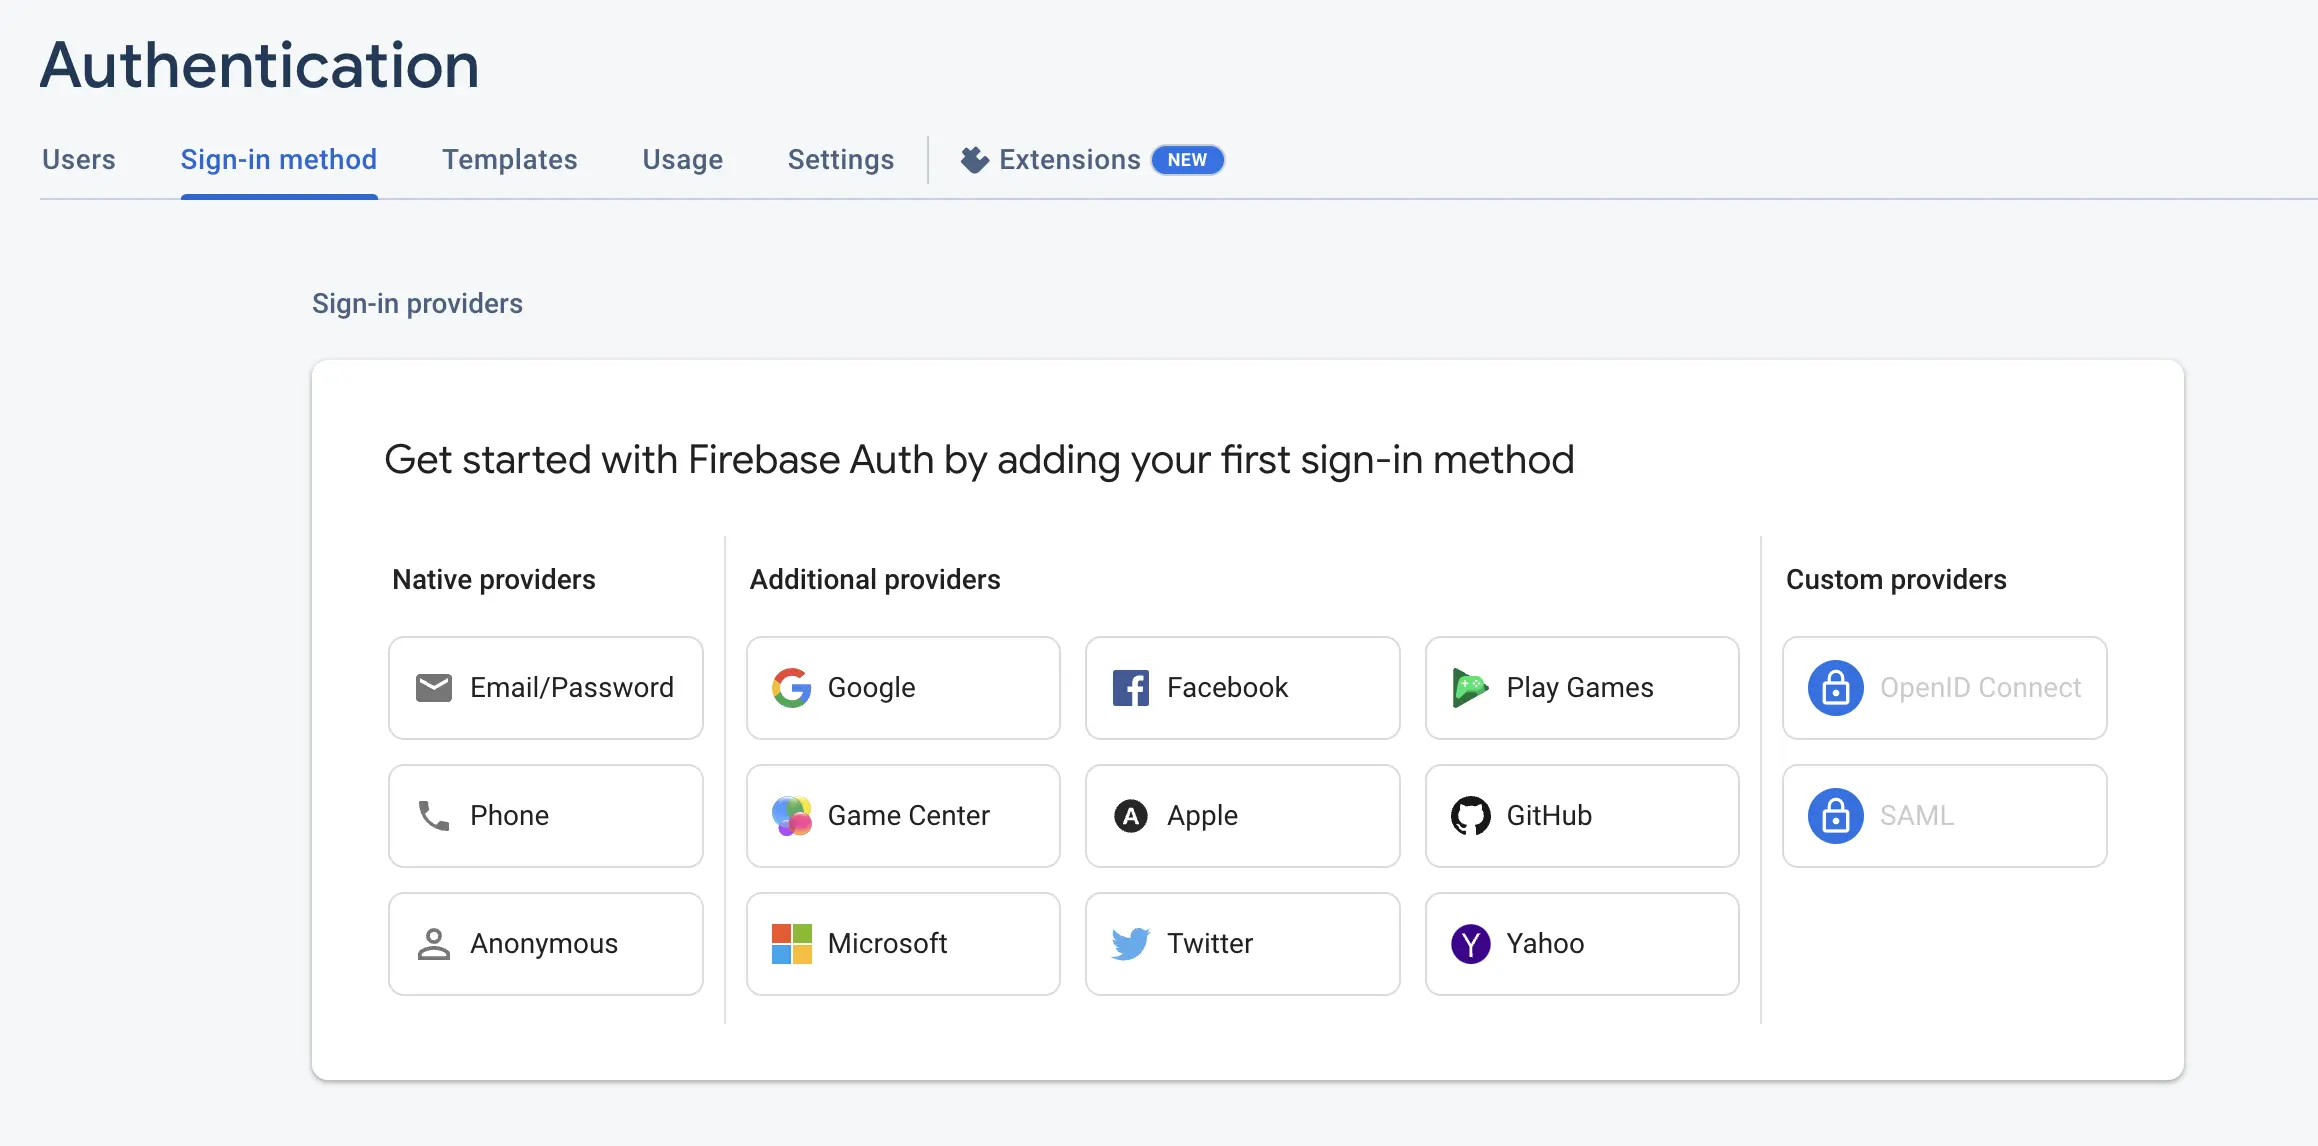
Enable it and fill the form. After that save this information
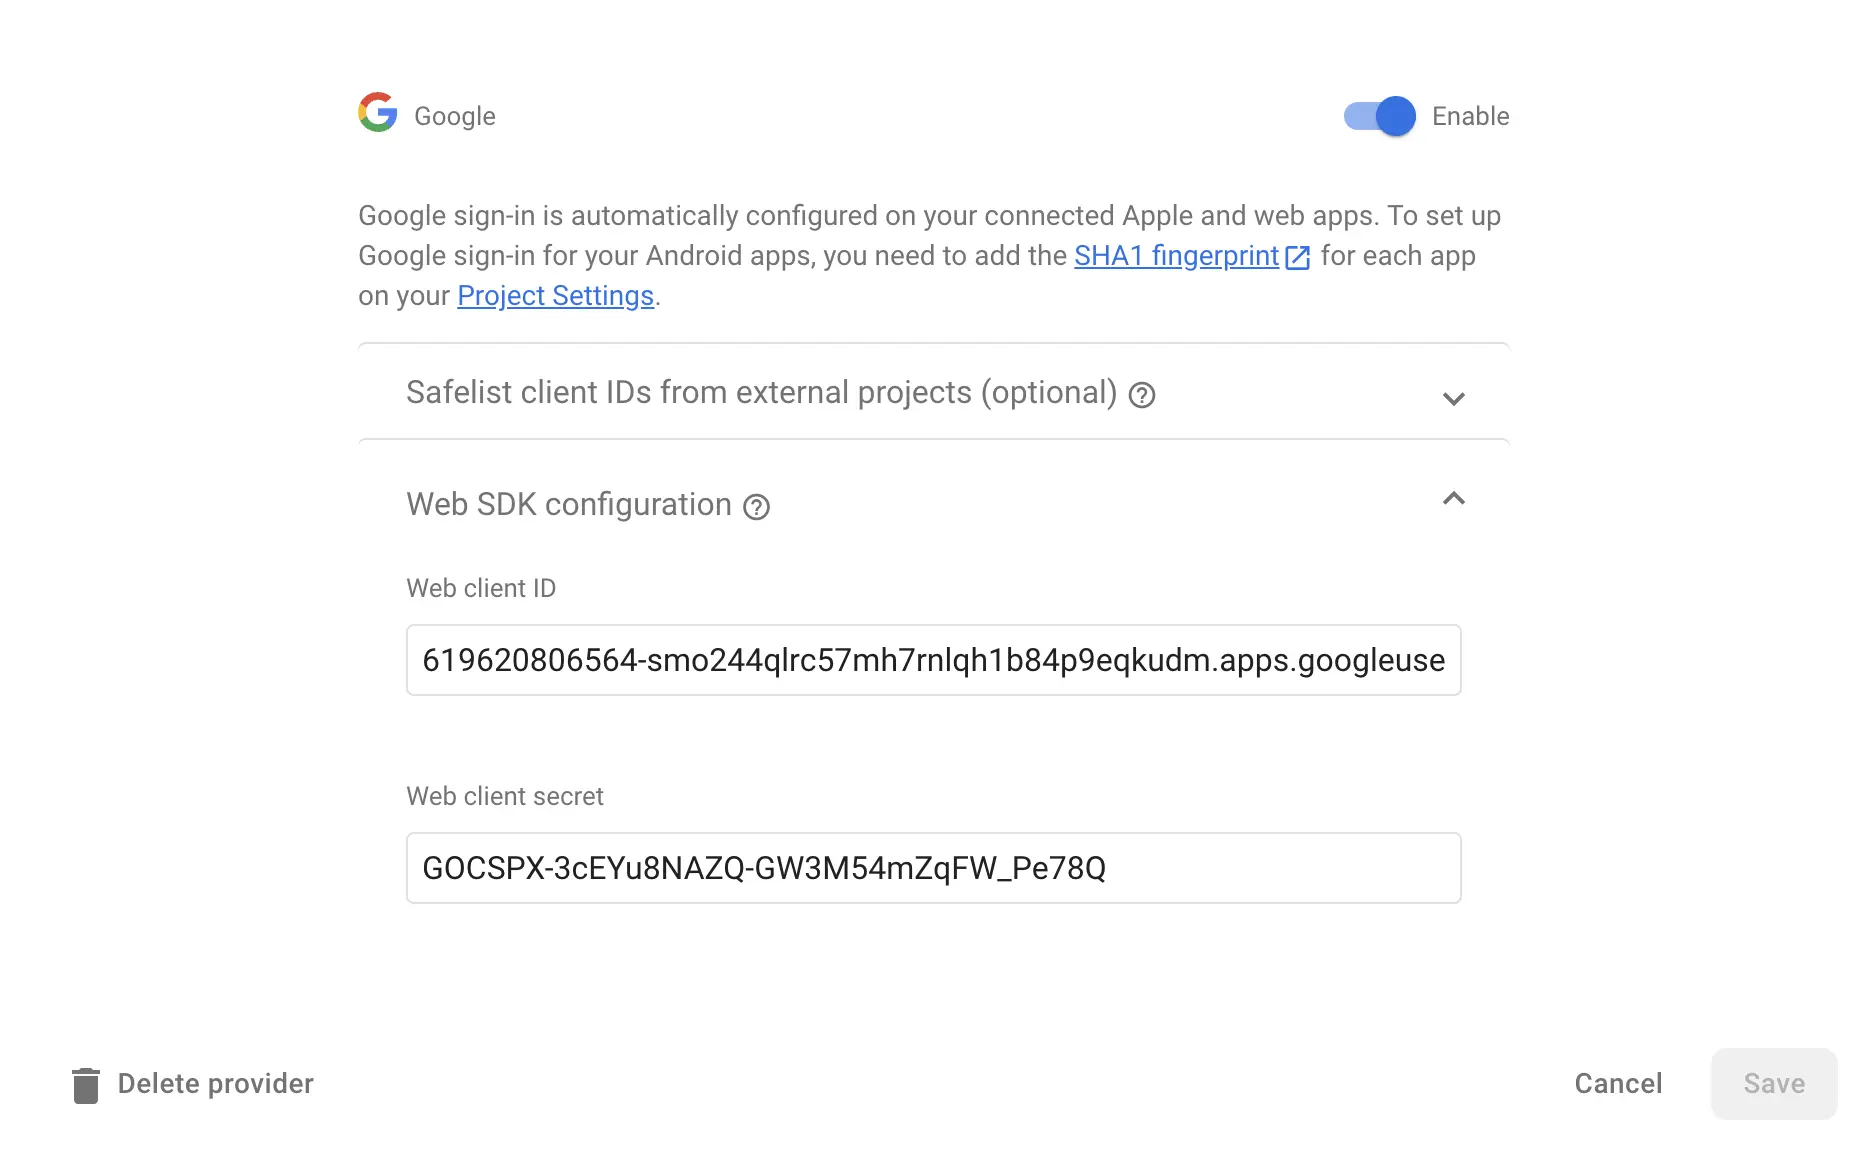
Now we can see our provider, but let's edit it with our Google Cloud Project information

Fill these two input fields based on the created Google Cloud Project's Client ID and secret
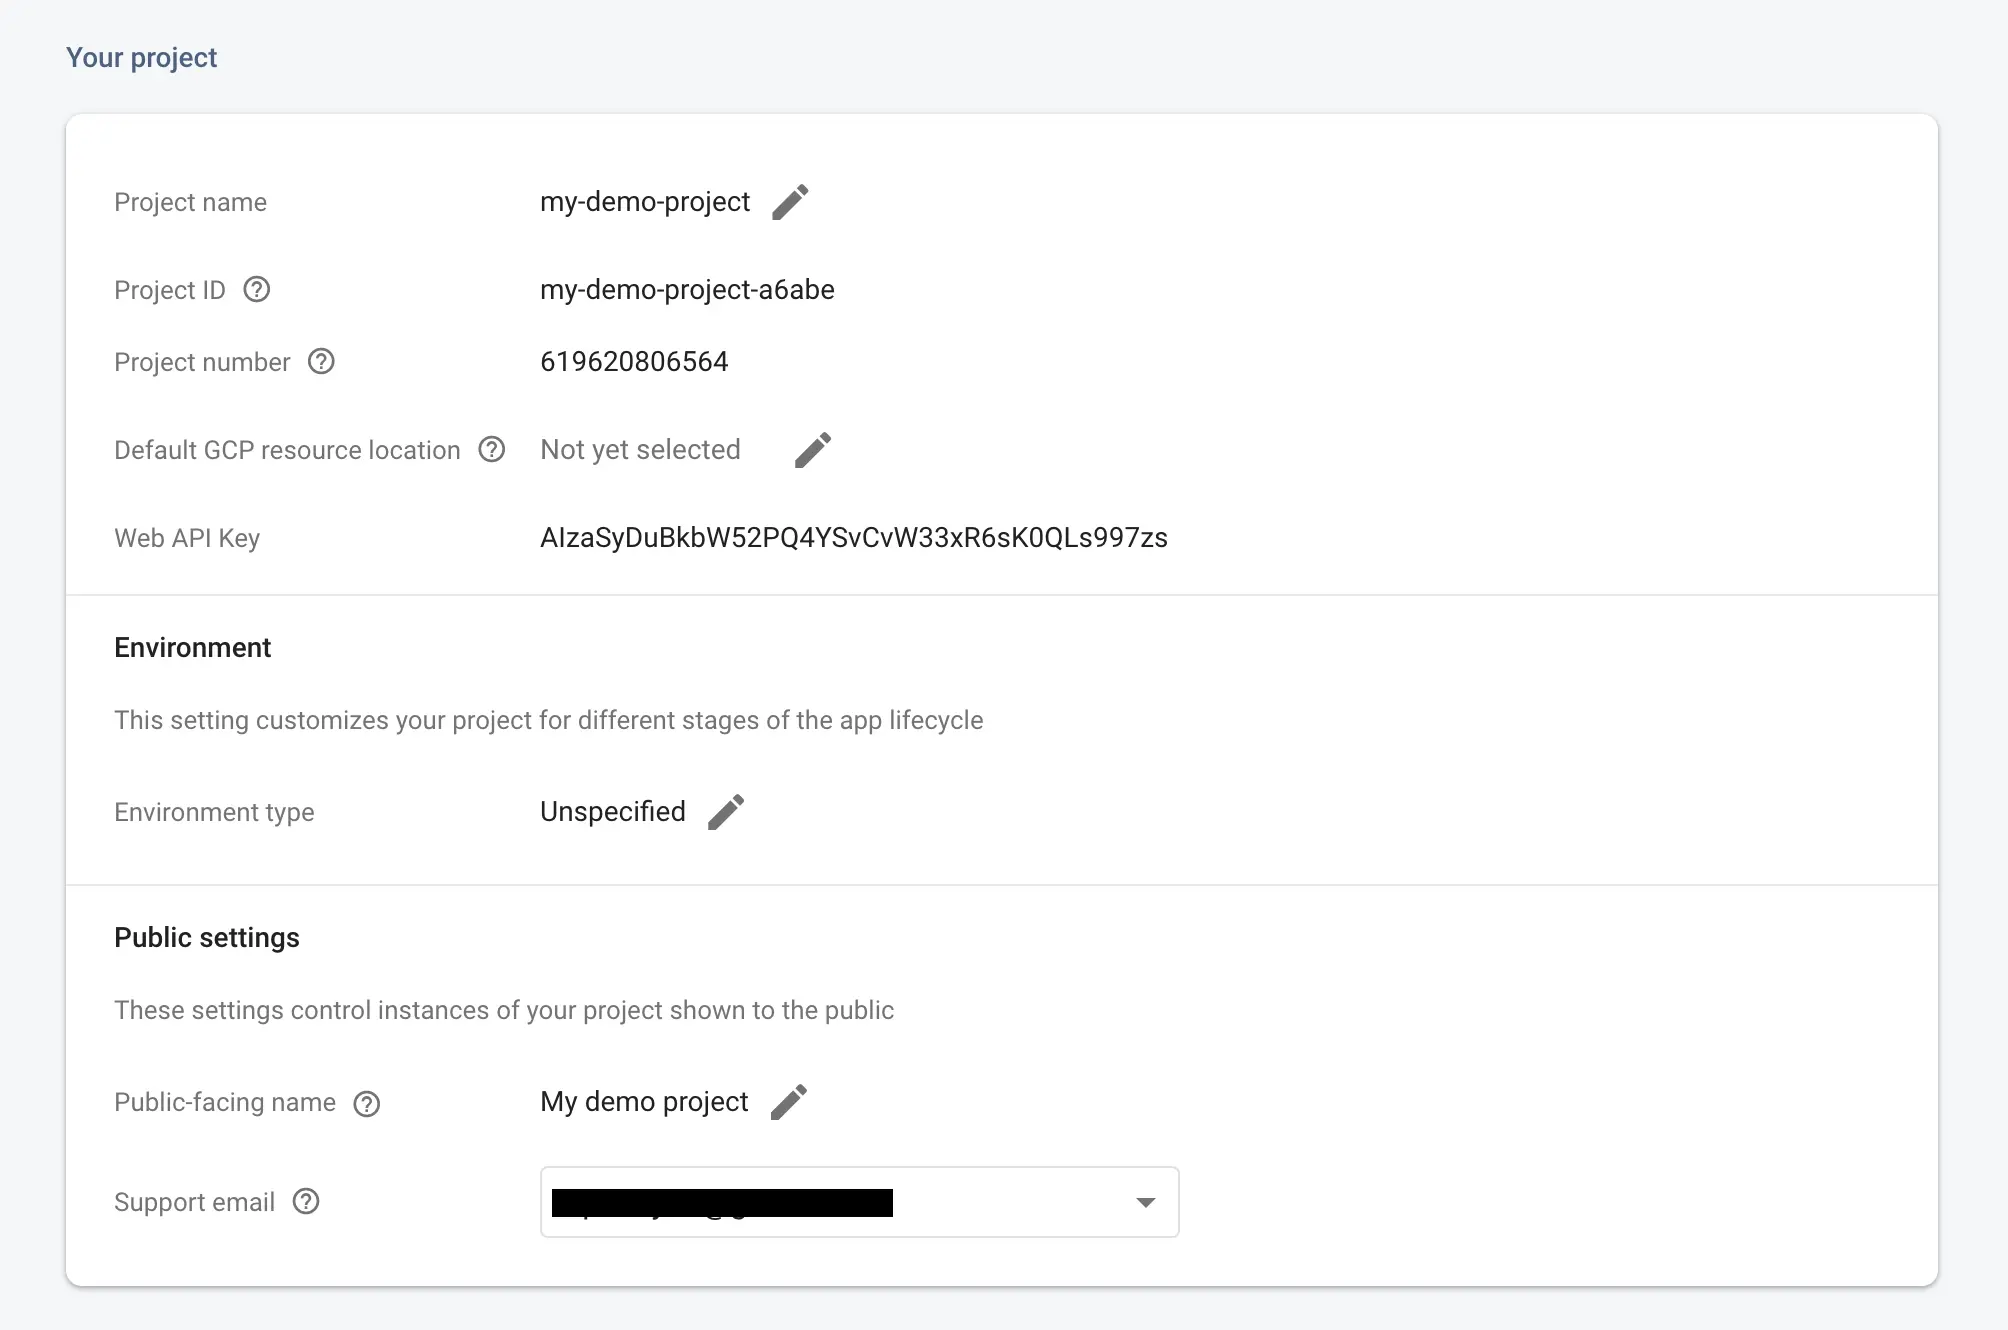
Lastly, head to the Project settings of your Firebase project
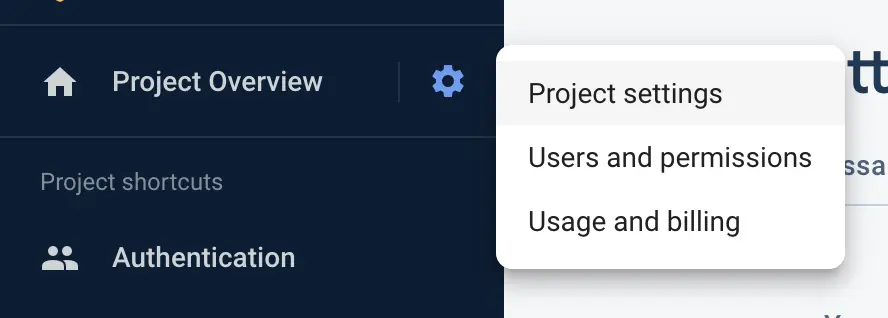
And save the Project ID and Web API key somewhere, we'll need them later.
Expo additional configuration with dotenv
For our app to function properly we have to change the metro config to the following ios.bundleIdentifier and android.package will be required later on in the release part.
Modify the app.json / app.config.(js|ts) to have this content.
NOTE: The scheme, name, slug properties should match with the redirect URI previously set up in the google cloud project.
Auth logic
We are going to create a component that handles the auth logic. What we'll do is to save the user in a state variable to display the name and email of the logged in user.
Credentials file
Firstly we'll create a file where all our credentials will be stored. They should not be hardcoded, se we create a .env file first like this
Afterwise we'll create a file called firebaseConfig.ts
Retrieve id_token from the Google Provider
In the auth flow the first thing we have to do is to acquire the id_token for our Google OAuth Provider. For this we'll use a hook, namely useIdTokenAuthRequest
We need to import it first. But to have room for other providers let's import it this way
And use it in our component like this
The two variables that we have access now from this hook is
promptAsyncGooglewhich is a function that triggers the Google logingoogleResponsein which we store the response of the Google login event
So let's call promptAsyncGoogle() if the user clicks on the Google login button:
After clicking on the button the Google prompt will appear and as the user logged in it will eventually update the googleResponse variable.
But this login is only for to request the id_token from the provider. This call is not yet the firebase login. So we need to log in to Firebase after this call is successful
Firebase login and user id_token
Let's watch our googleResponse variable and create an effect when it changes.
Now the Firebase login needs a credential to patch us through. This credential can be created from the provider's id_token. To do this we'll use the GoogleAuthProvider that is provided for us by the firebase package.
And to use it to generate credentials:
So far this is how our useEffect looks like:
Now we need to call the Firebase login that is also coming from the firebase package. But before that we need to set up a firebase auth instance outside of our component like this
Now we can write out login function
For better code separation this could be better to be moved into a useCallback.
The type OAuthCredential is also from the firebase package.
If our request is successful, we should get the user into the signInResponse.
So this is how our component looks like now:
Save user to state and setup persistence with SecureStorage
It's nice that we are able to authenticate but let's save our user to the component and make sure that it's persisted even if the app gets closed.
Let's add a state variable
(The User type comes from the firebase package)
To save the user to this state we have to add a listener on the onAuthStateChanged property of our initialized auth instance.
This way we can easily add the user data to our screen like this
Let's extend the logic with a logout functionality that just basically signs the user out. Fortunately we only have to call one function because our previous listener will take care of the state change for the logout as well.
Add the visuals too using a ternary:
The last thing we have to do is to persist our user even when the app gets closed. We are going to do it with SecureStorage.
Import it on the top
And the way we are able to set it up is to create our own persistor for the firebase auth instance.
SecureStorage has getItemAsync, setItemAsync, deleteItemAsync functions and these correspond in their typing with the ones above extending the getReactNativePersistence.
There is only one issue, that SecureStorage can only save keys that contain alphanumeric values. So we need to transform our keys from these functions to be compatible with this rule.
Here is a small regex replace that will only keep characters that are compatible with SecureStorage
So finally the persistor looks like this:
Right, let's add it to our auth instance via filling the deps object that is the second argument during initialization.
TLDR.:
Let's see how our component looks like in it's final form.
Scriptide is a strategic technology partner specializing in the development of custom, complex B2B software solutions. We provide a comprehensive suite of services, including digital transformation, web and mobile development, and the integration of AI and blockchain technologies.
Get a free IT consultation. We are excited to hear from you.
Liked this article? Subscribe for more.
We handle your data with maximum discretion. By clicking 'Keep me posted' you consent to processing your data by Scriptide Ltd. for marketing purposes, including sending emails. For details see our Privacy Policy.
You might also like these articles!
Click for details
Using AI (Computer User Agent) models in automated testing for easier and quicker tests
One of Scriptide's staff software engineers, Botond Kovács, made a proof of concept (POC) TypeScript framework that uses OpenAI's Computer User Agent combined with traditional end-to-end testing frameworks like Playwright/Puppeteer. This POC allows for writing automated software tests more easily and quickly than before, treating the testable application as a black box instead of having to rely on test IDs, eliminating the need for code changes in the original application.
#dev
•
NOV 10, 2025
•
6 min read
Click for details
Improve Lighthouse Performance: How To Maximize a Website's SEO Scores
Google Lighthouse and Google PageSpeed Insights have become industry standard tools for measuring the overall performance of web applications. But what purpose do these tools serve, and why should we pay attention to our score? Can we improve our audit results, or is it set in stone? In the next article, we will explore how we managed to improve the score of Scriptide's website and why we chose to take this step.
#dev
•
JUL 01, 2025
•
4 min read