本記事は、
ブログ
管理された
管理された
Typescript

執筆者
Dénes Gutai
(ChatGPT
最終更新日
MAR 02, 2026
トピック
#dev
所要時間
12 min read
目次
イントロと前提条件
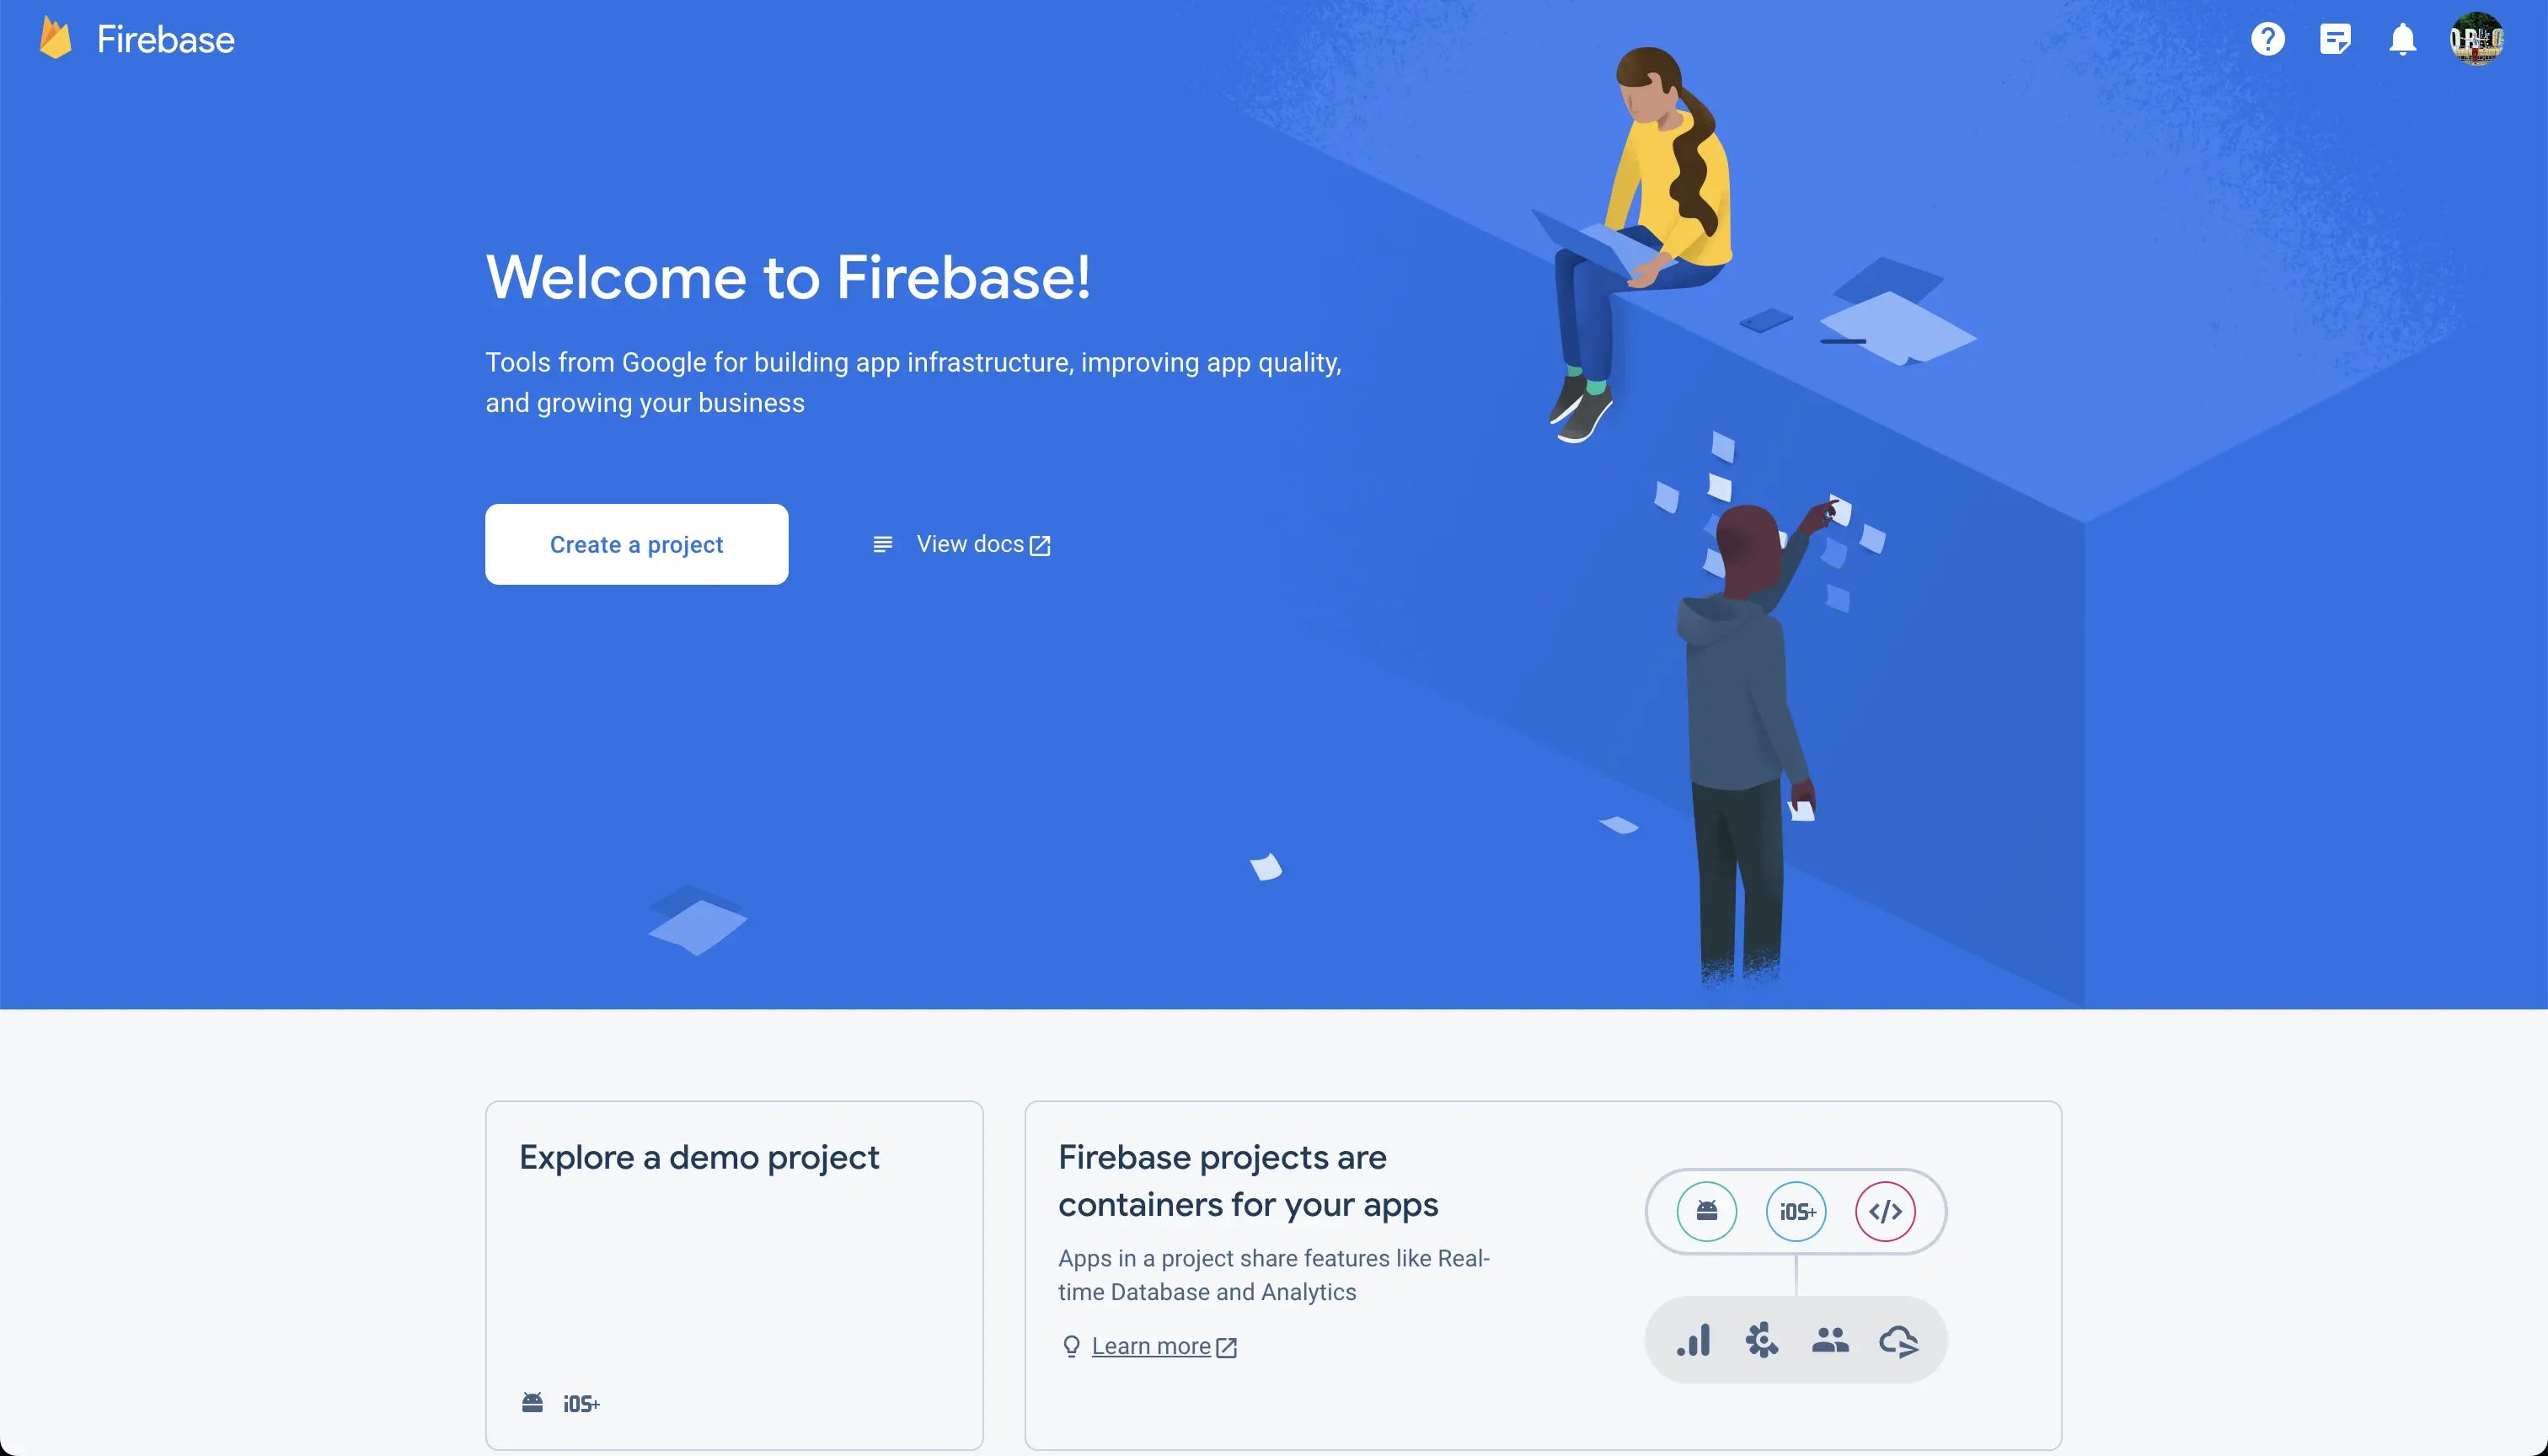
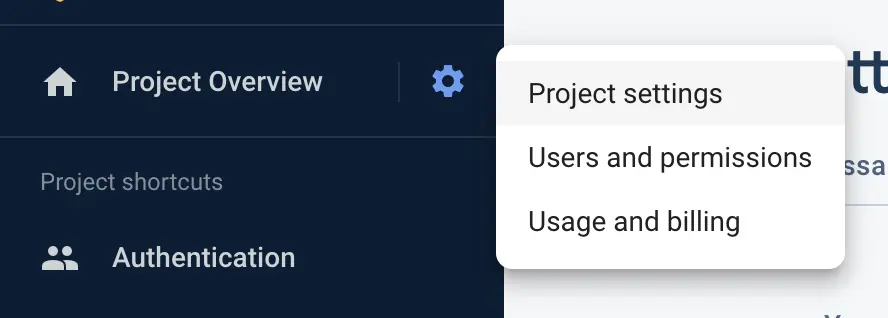
Google Cloud プロジェクトのセットアップ
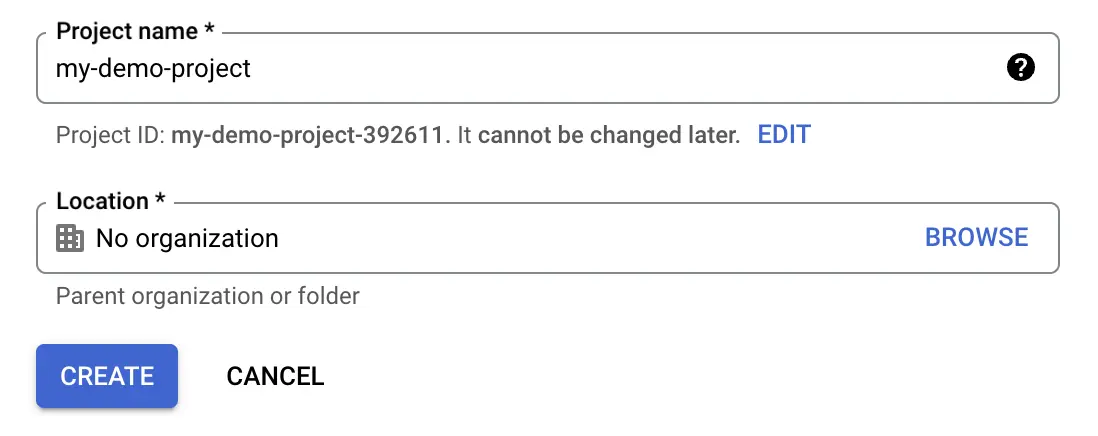
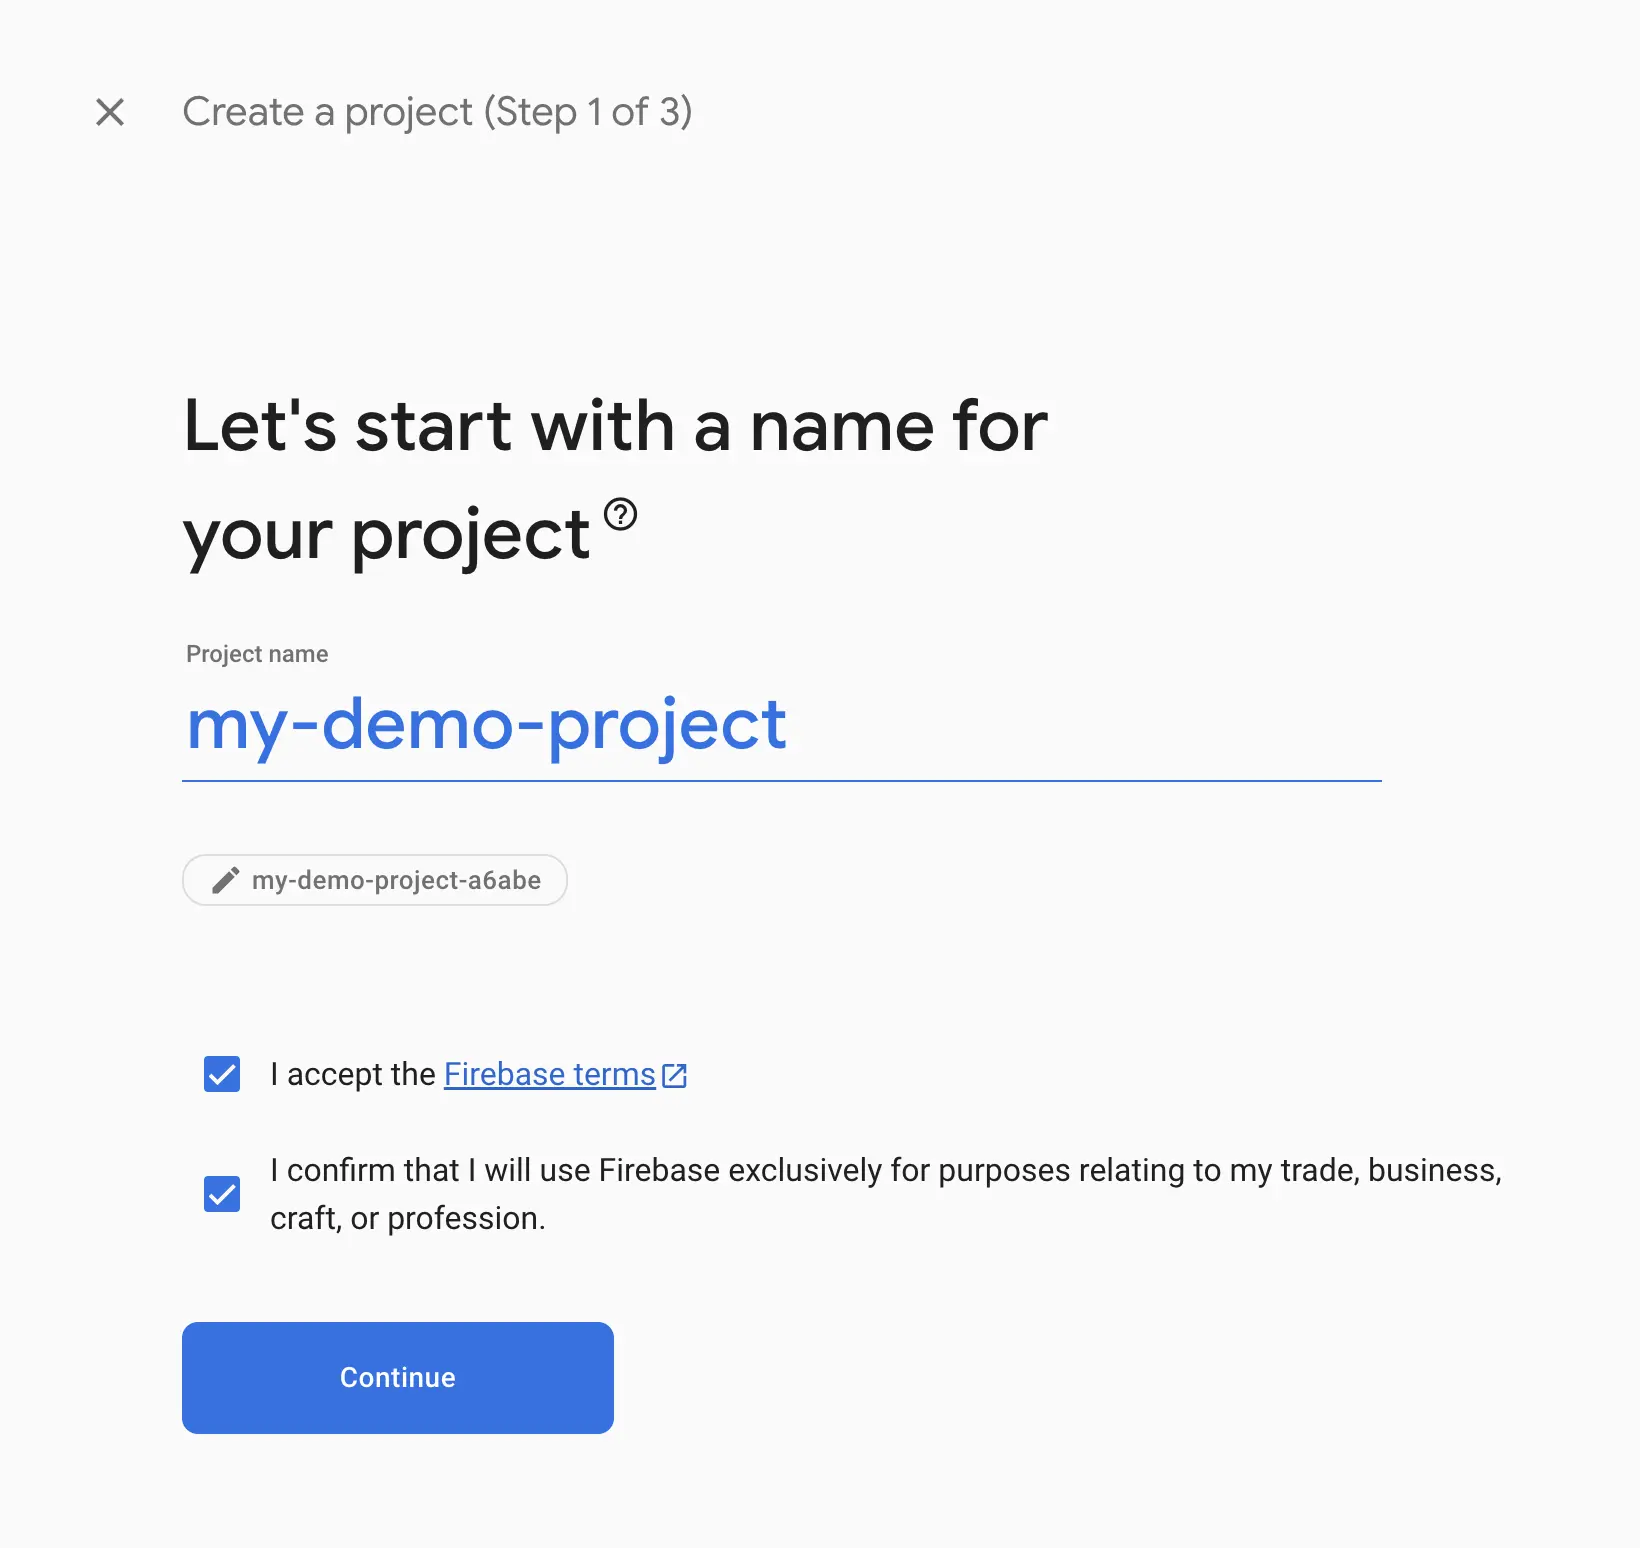
プロジェクトの作成


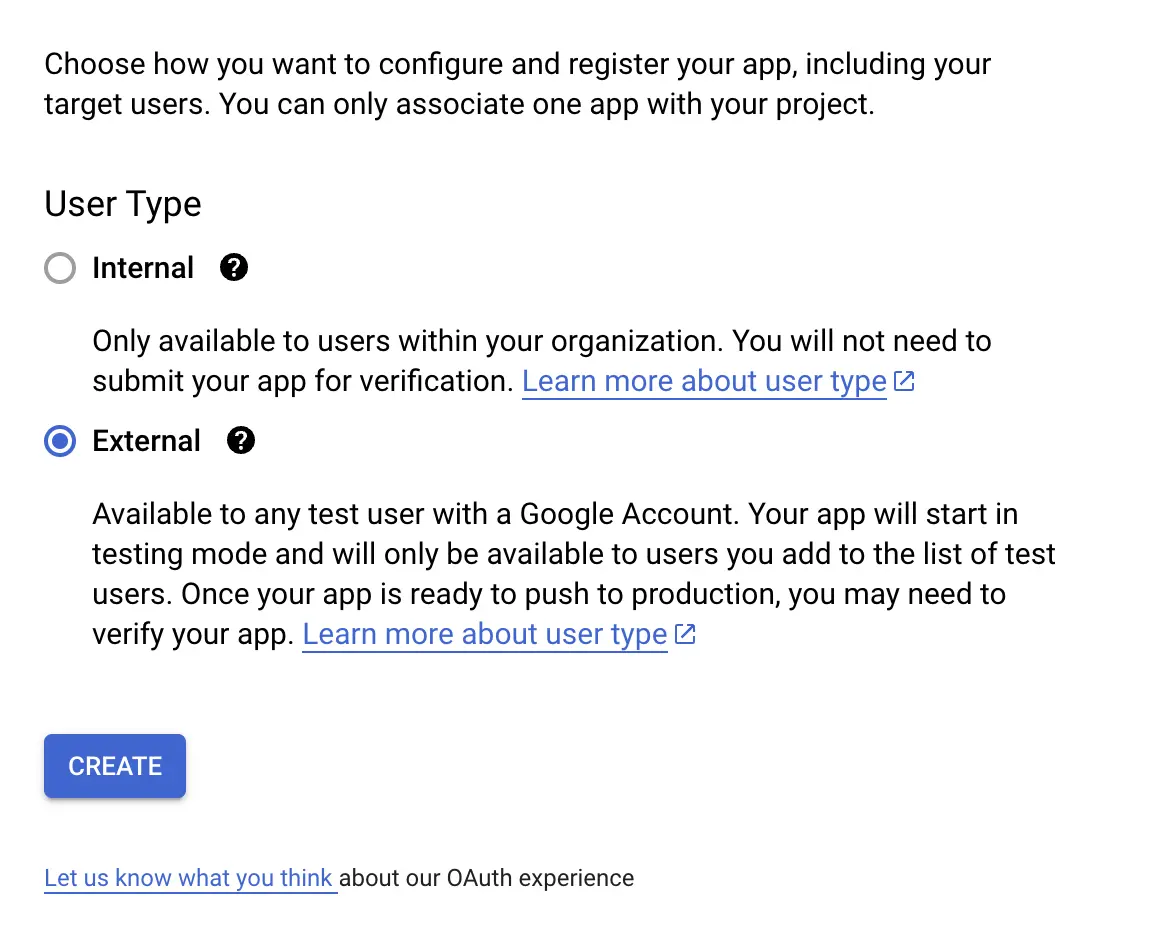
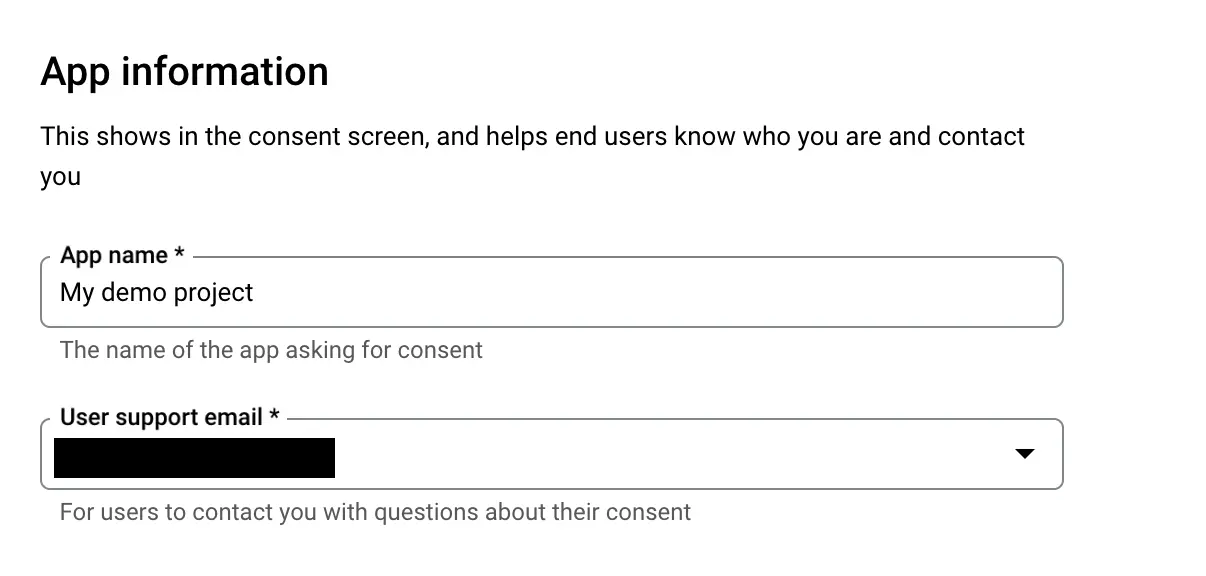
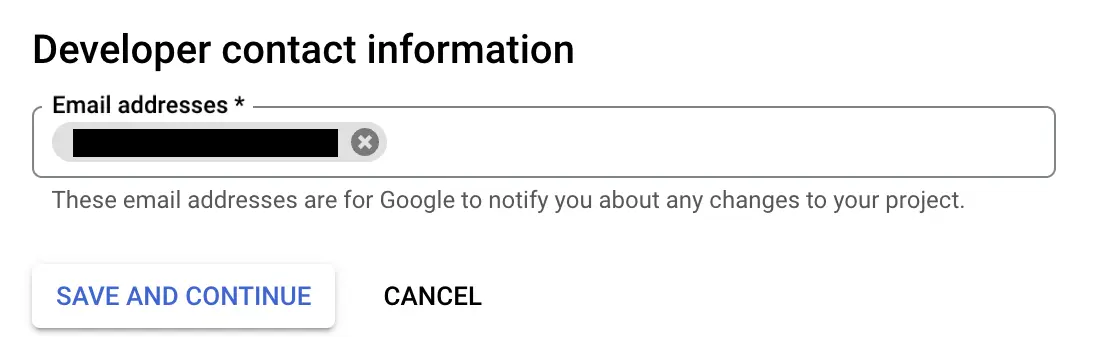
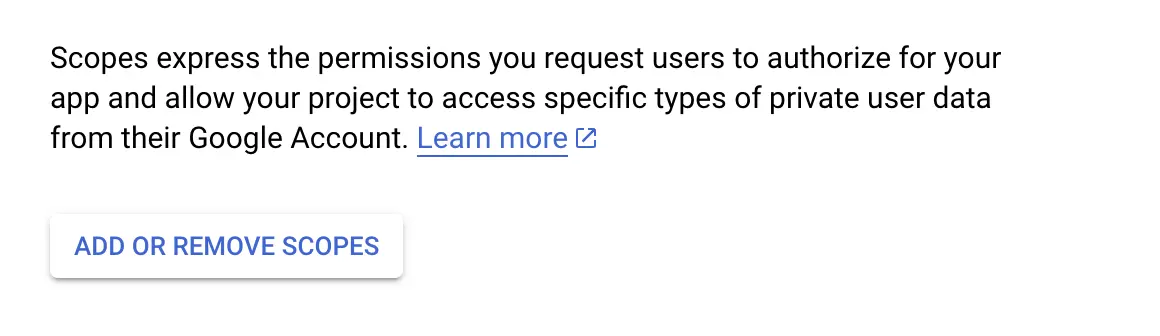
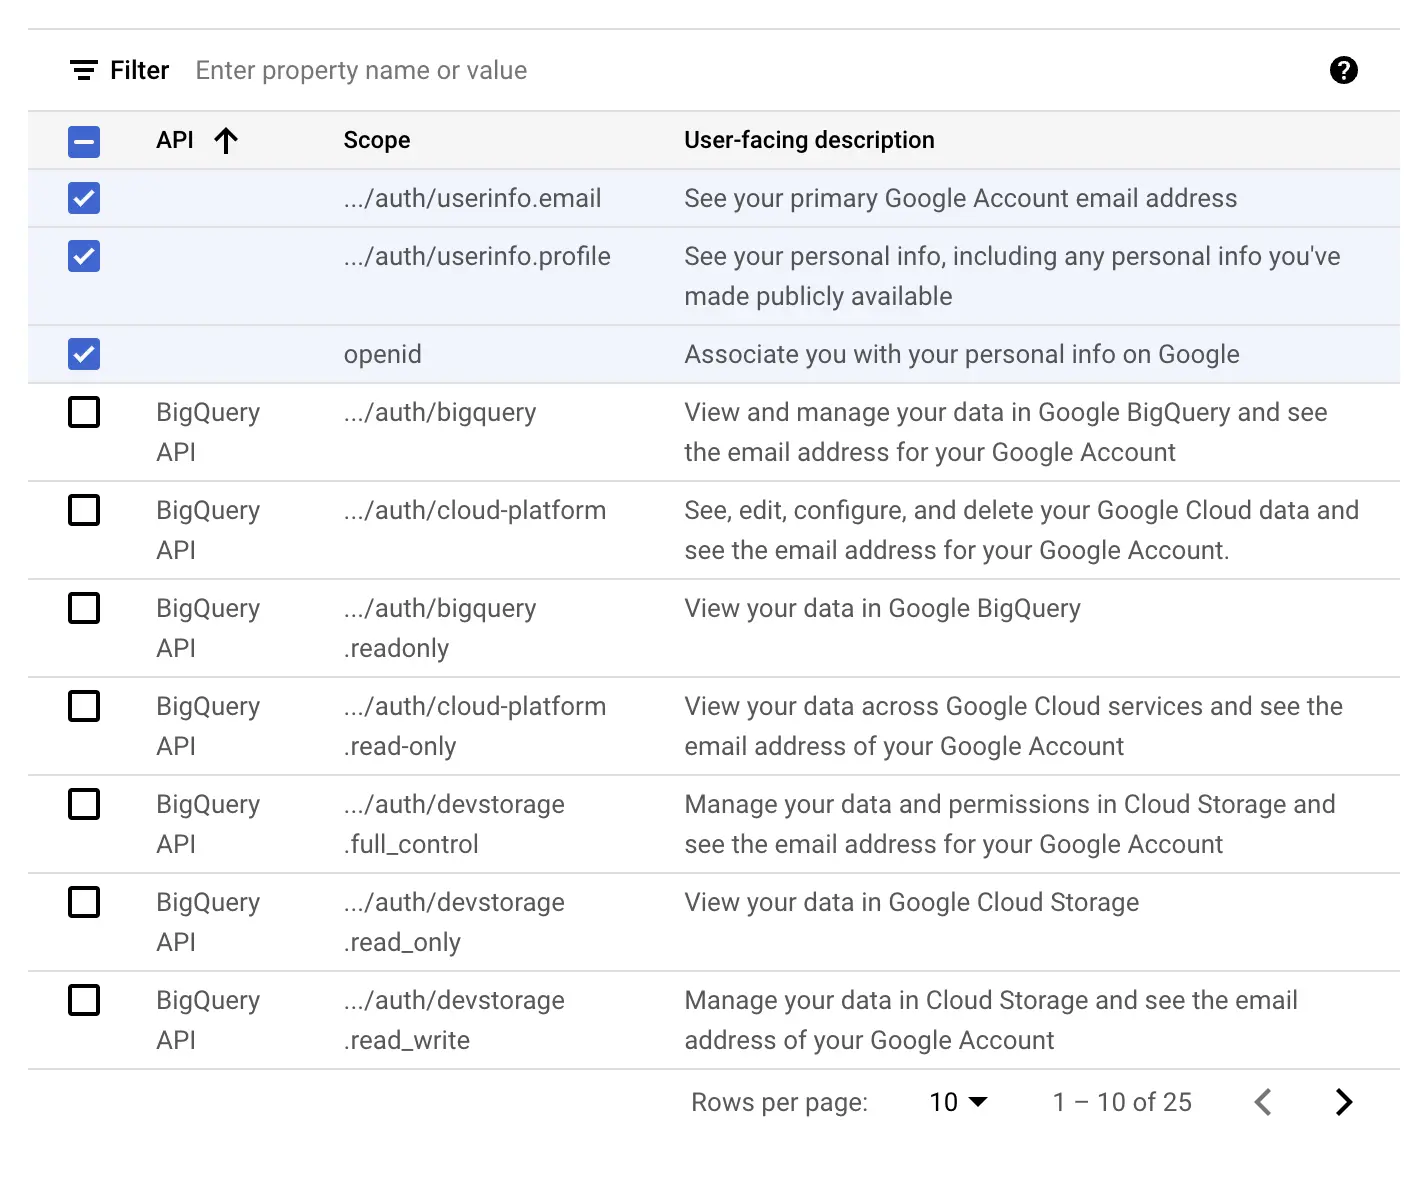
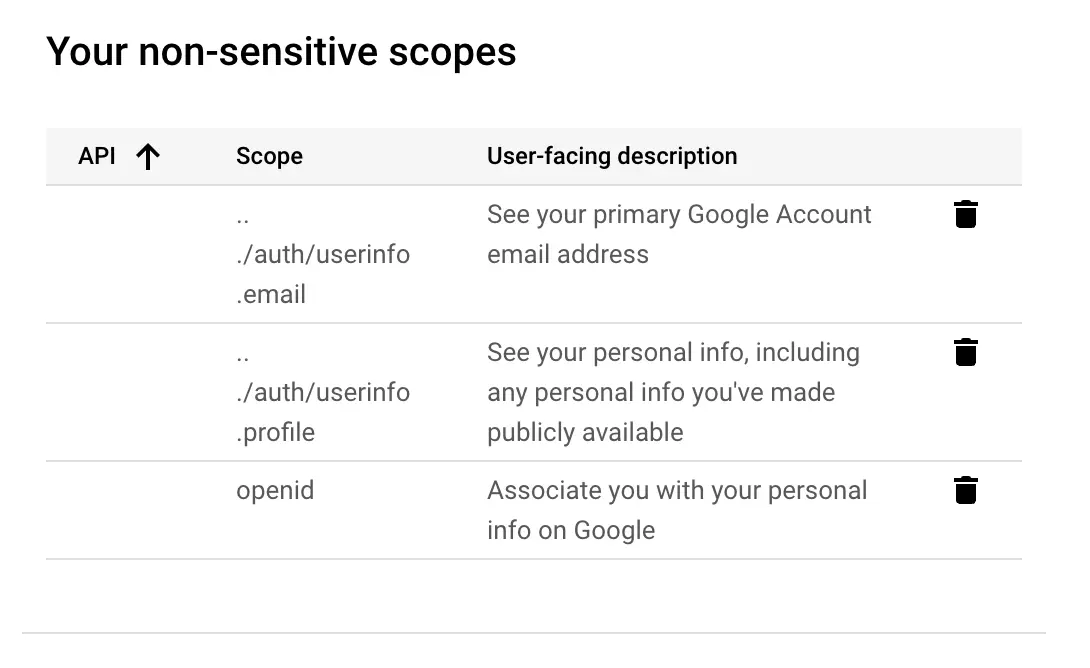
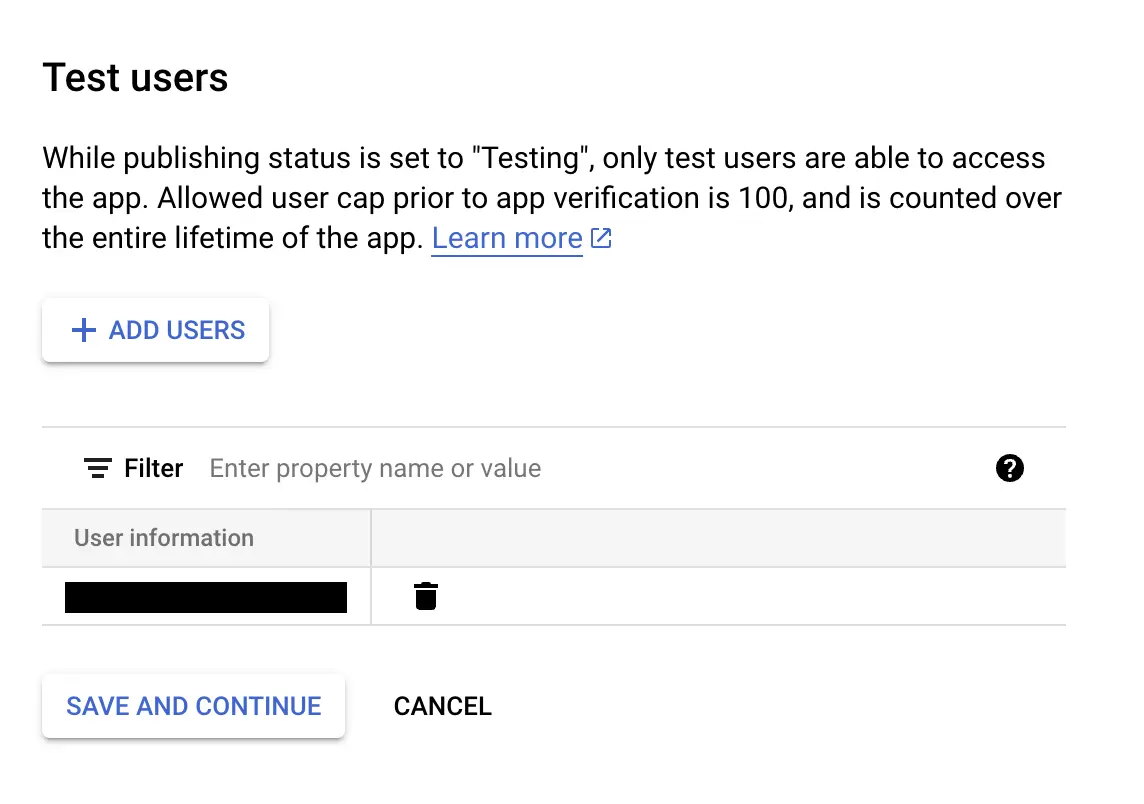
同意画面
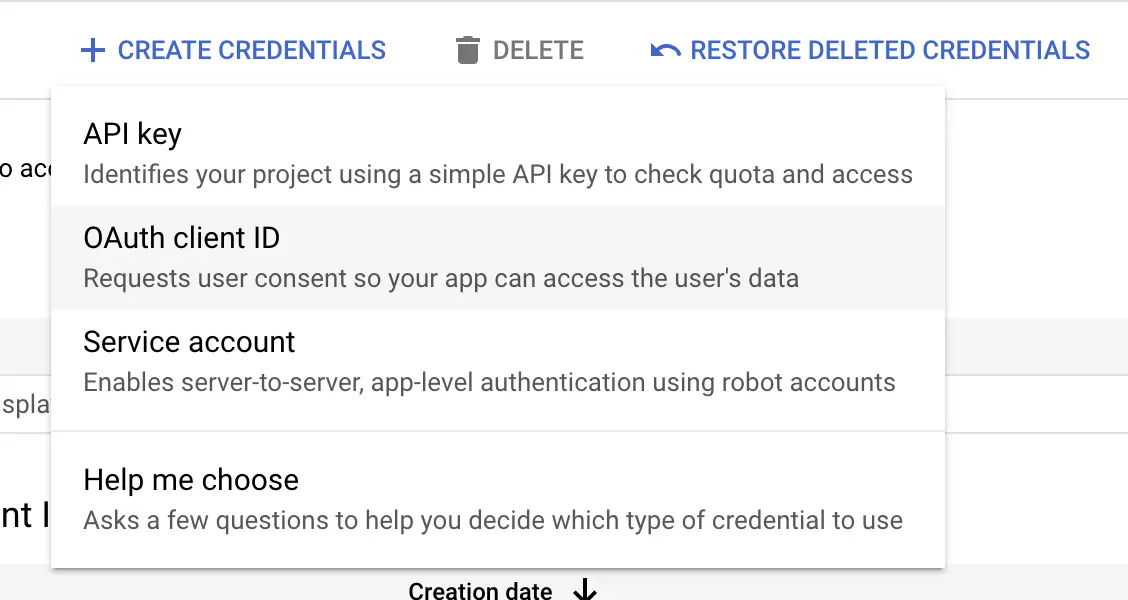
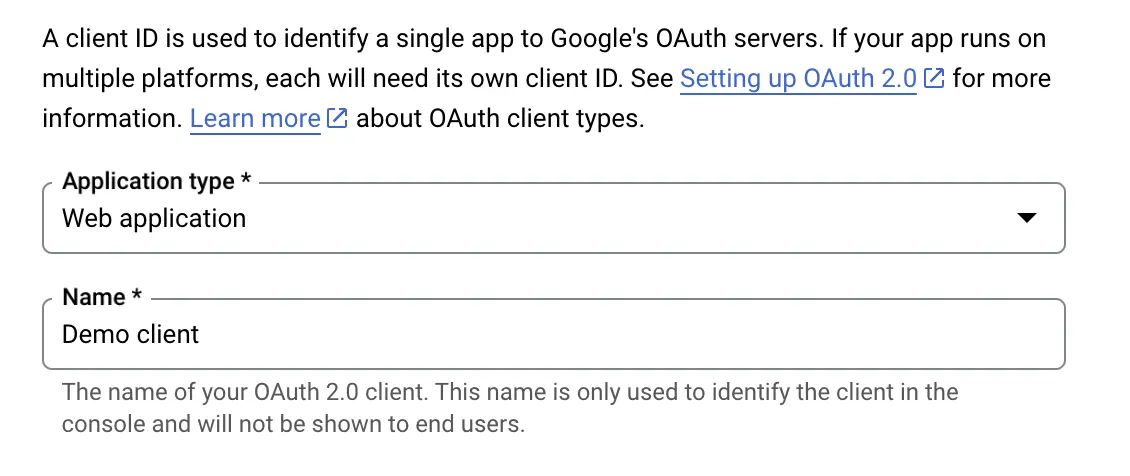
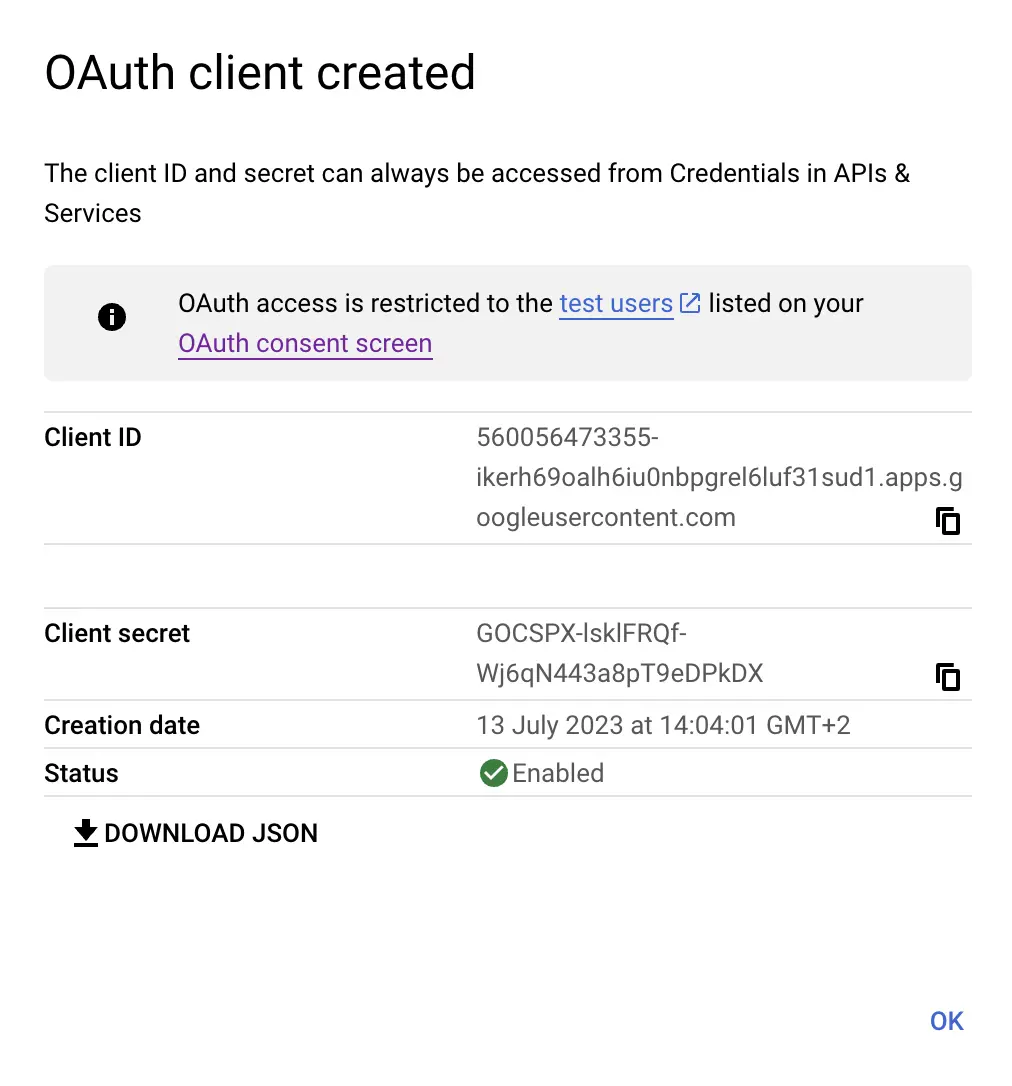
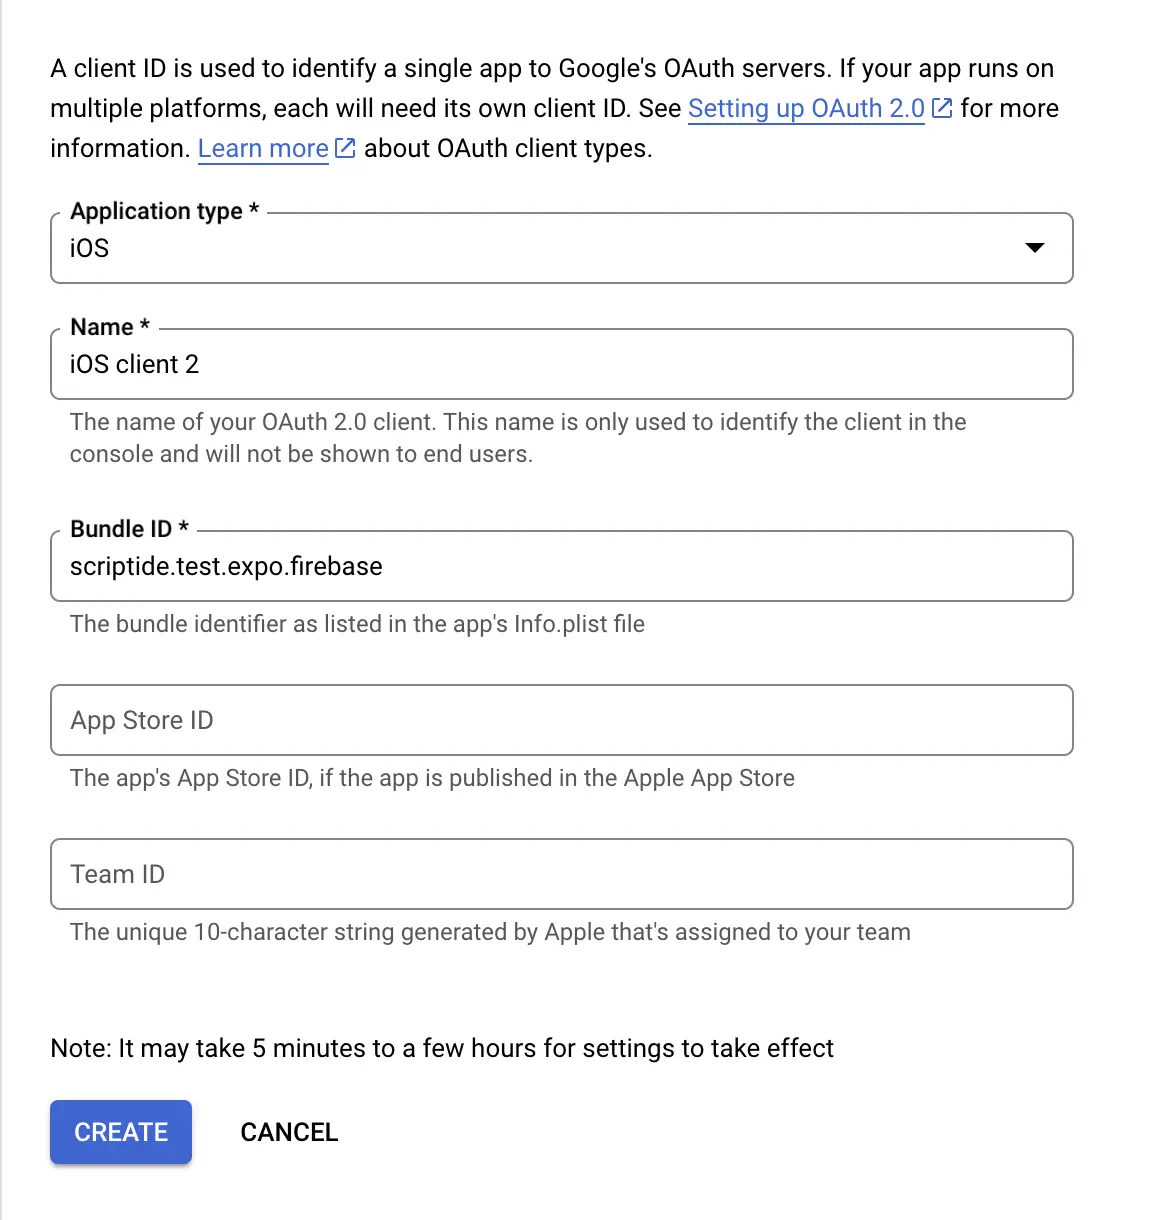
OAuth クライアント
- 開発モード用(Web)
- モバイルプラットフォーム用の追加 2 つ(Android、iOS)
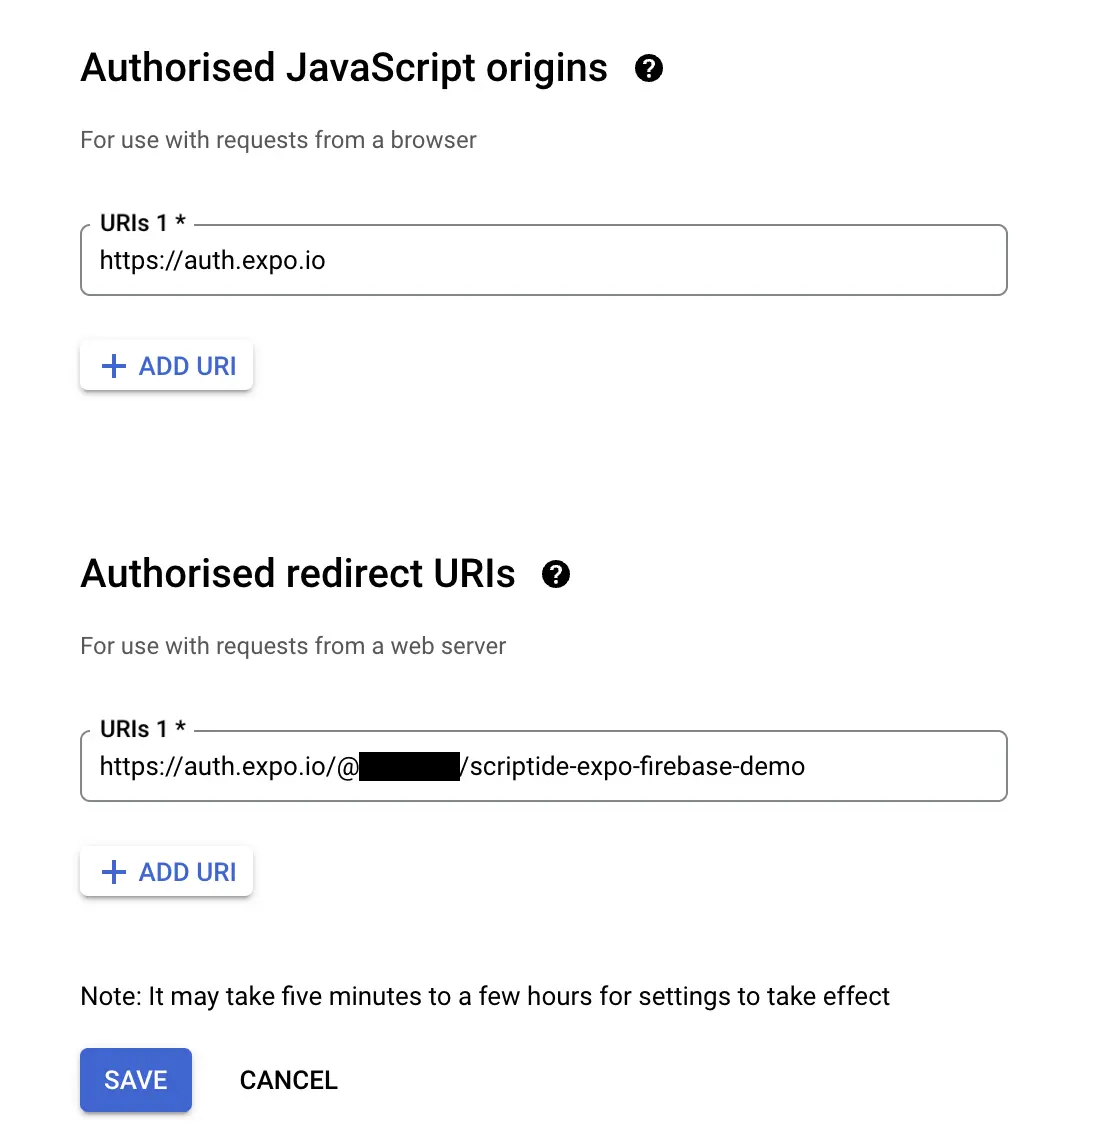
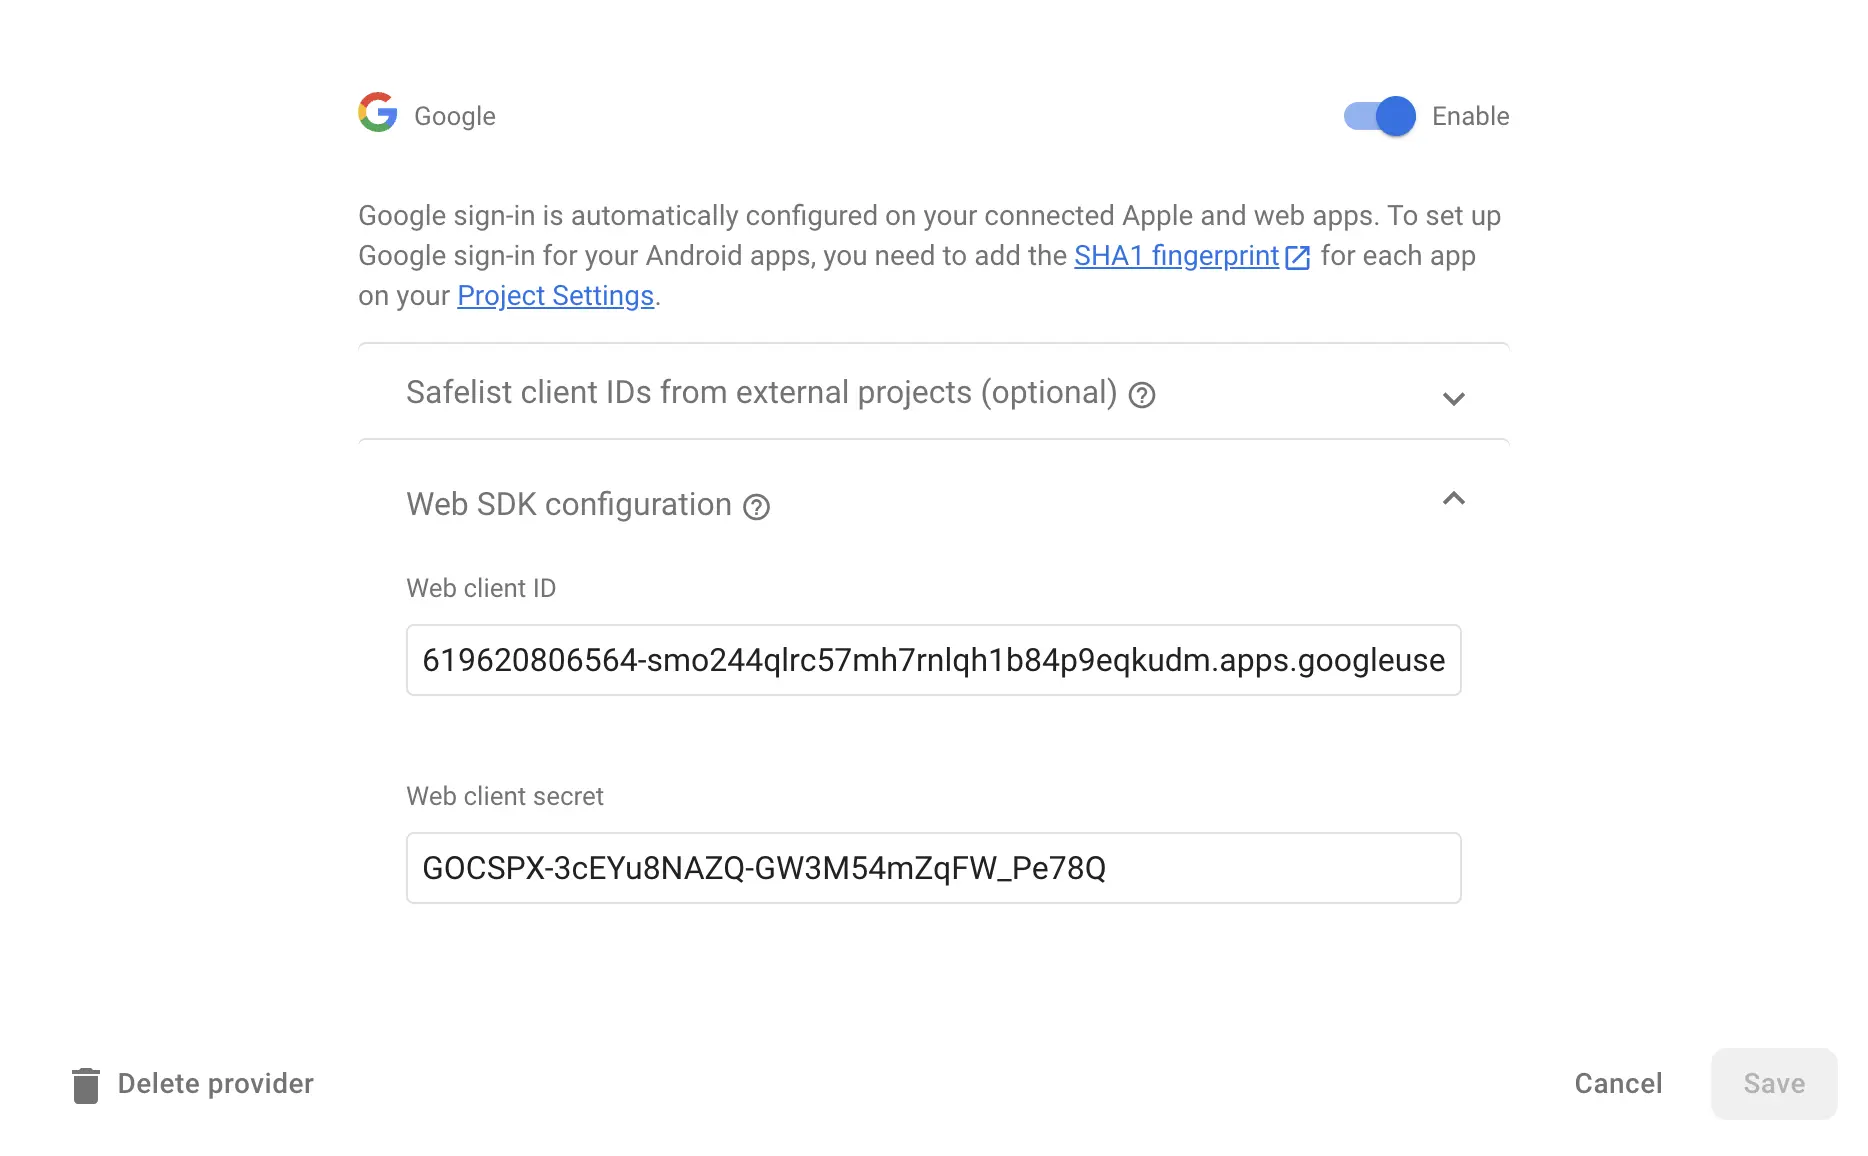
Web クライアント
EXPO_CLI_USERNAMEは、Expo にログインするために使用するユーザー名です。SLUGは、app.jsonまたはapp.config.(js|ts)で設定できるアプリケーションのスラッグです。
Android

iOS
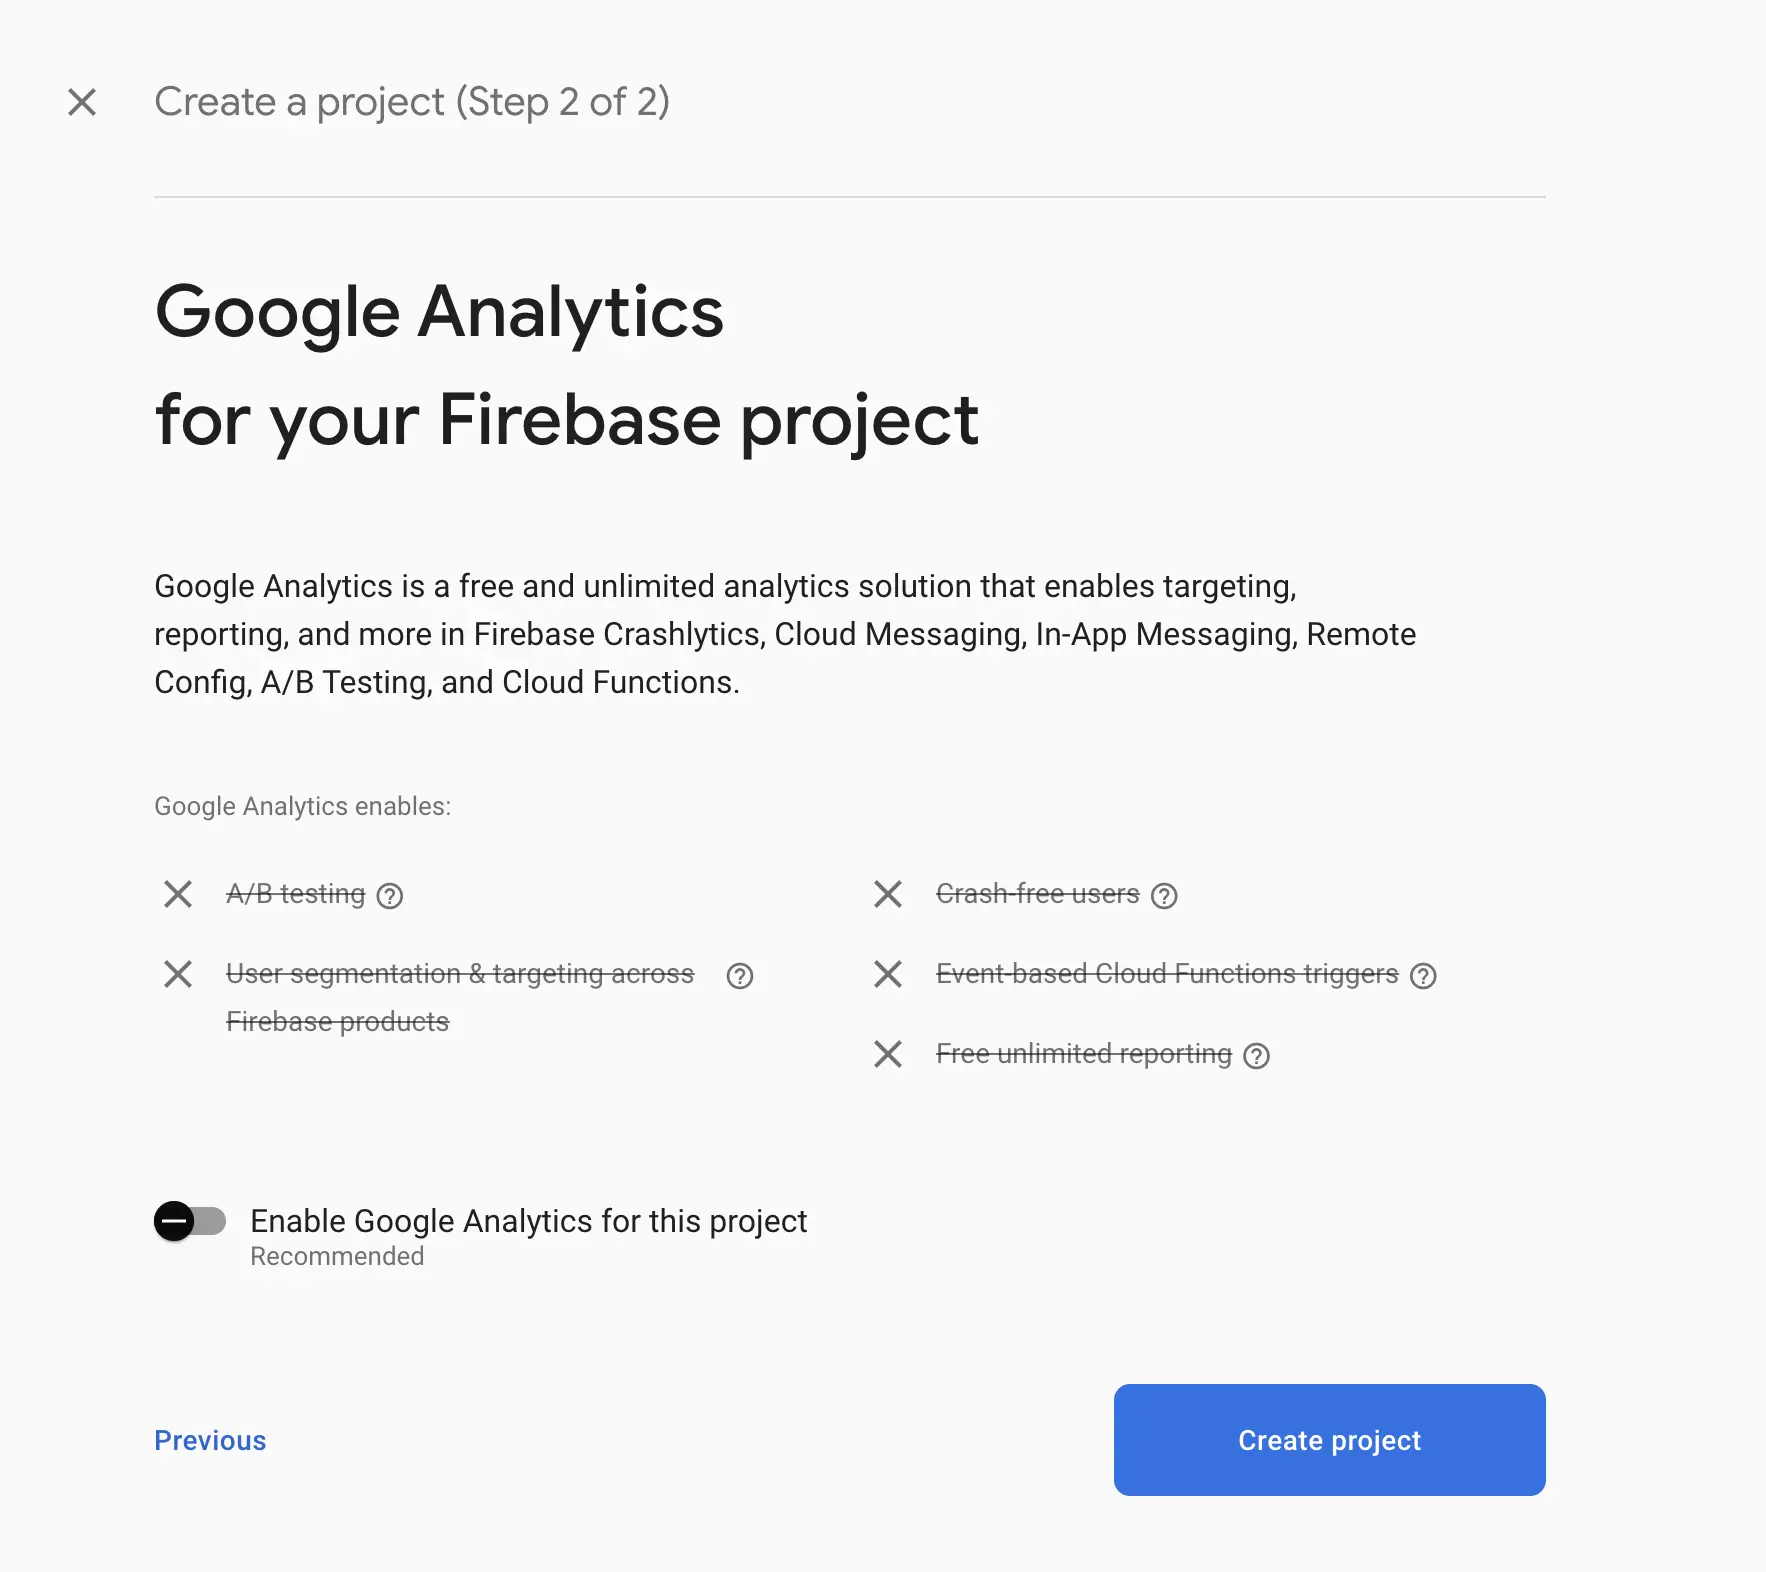
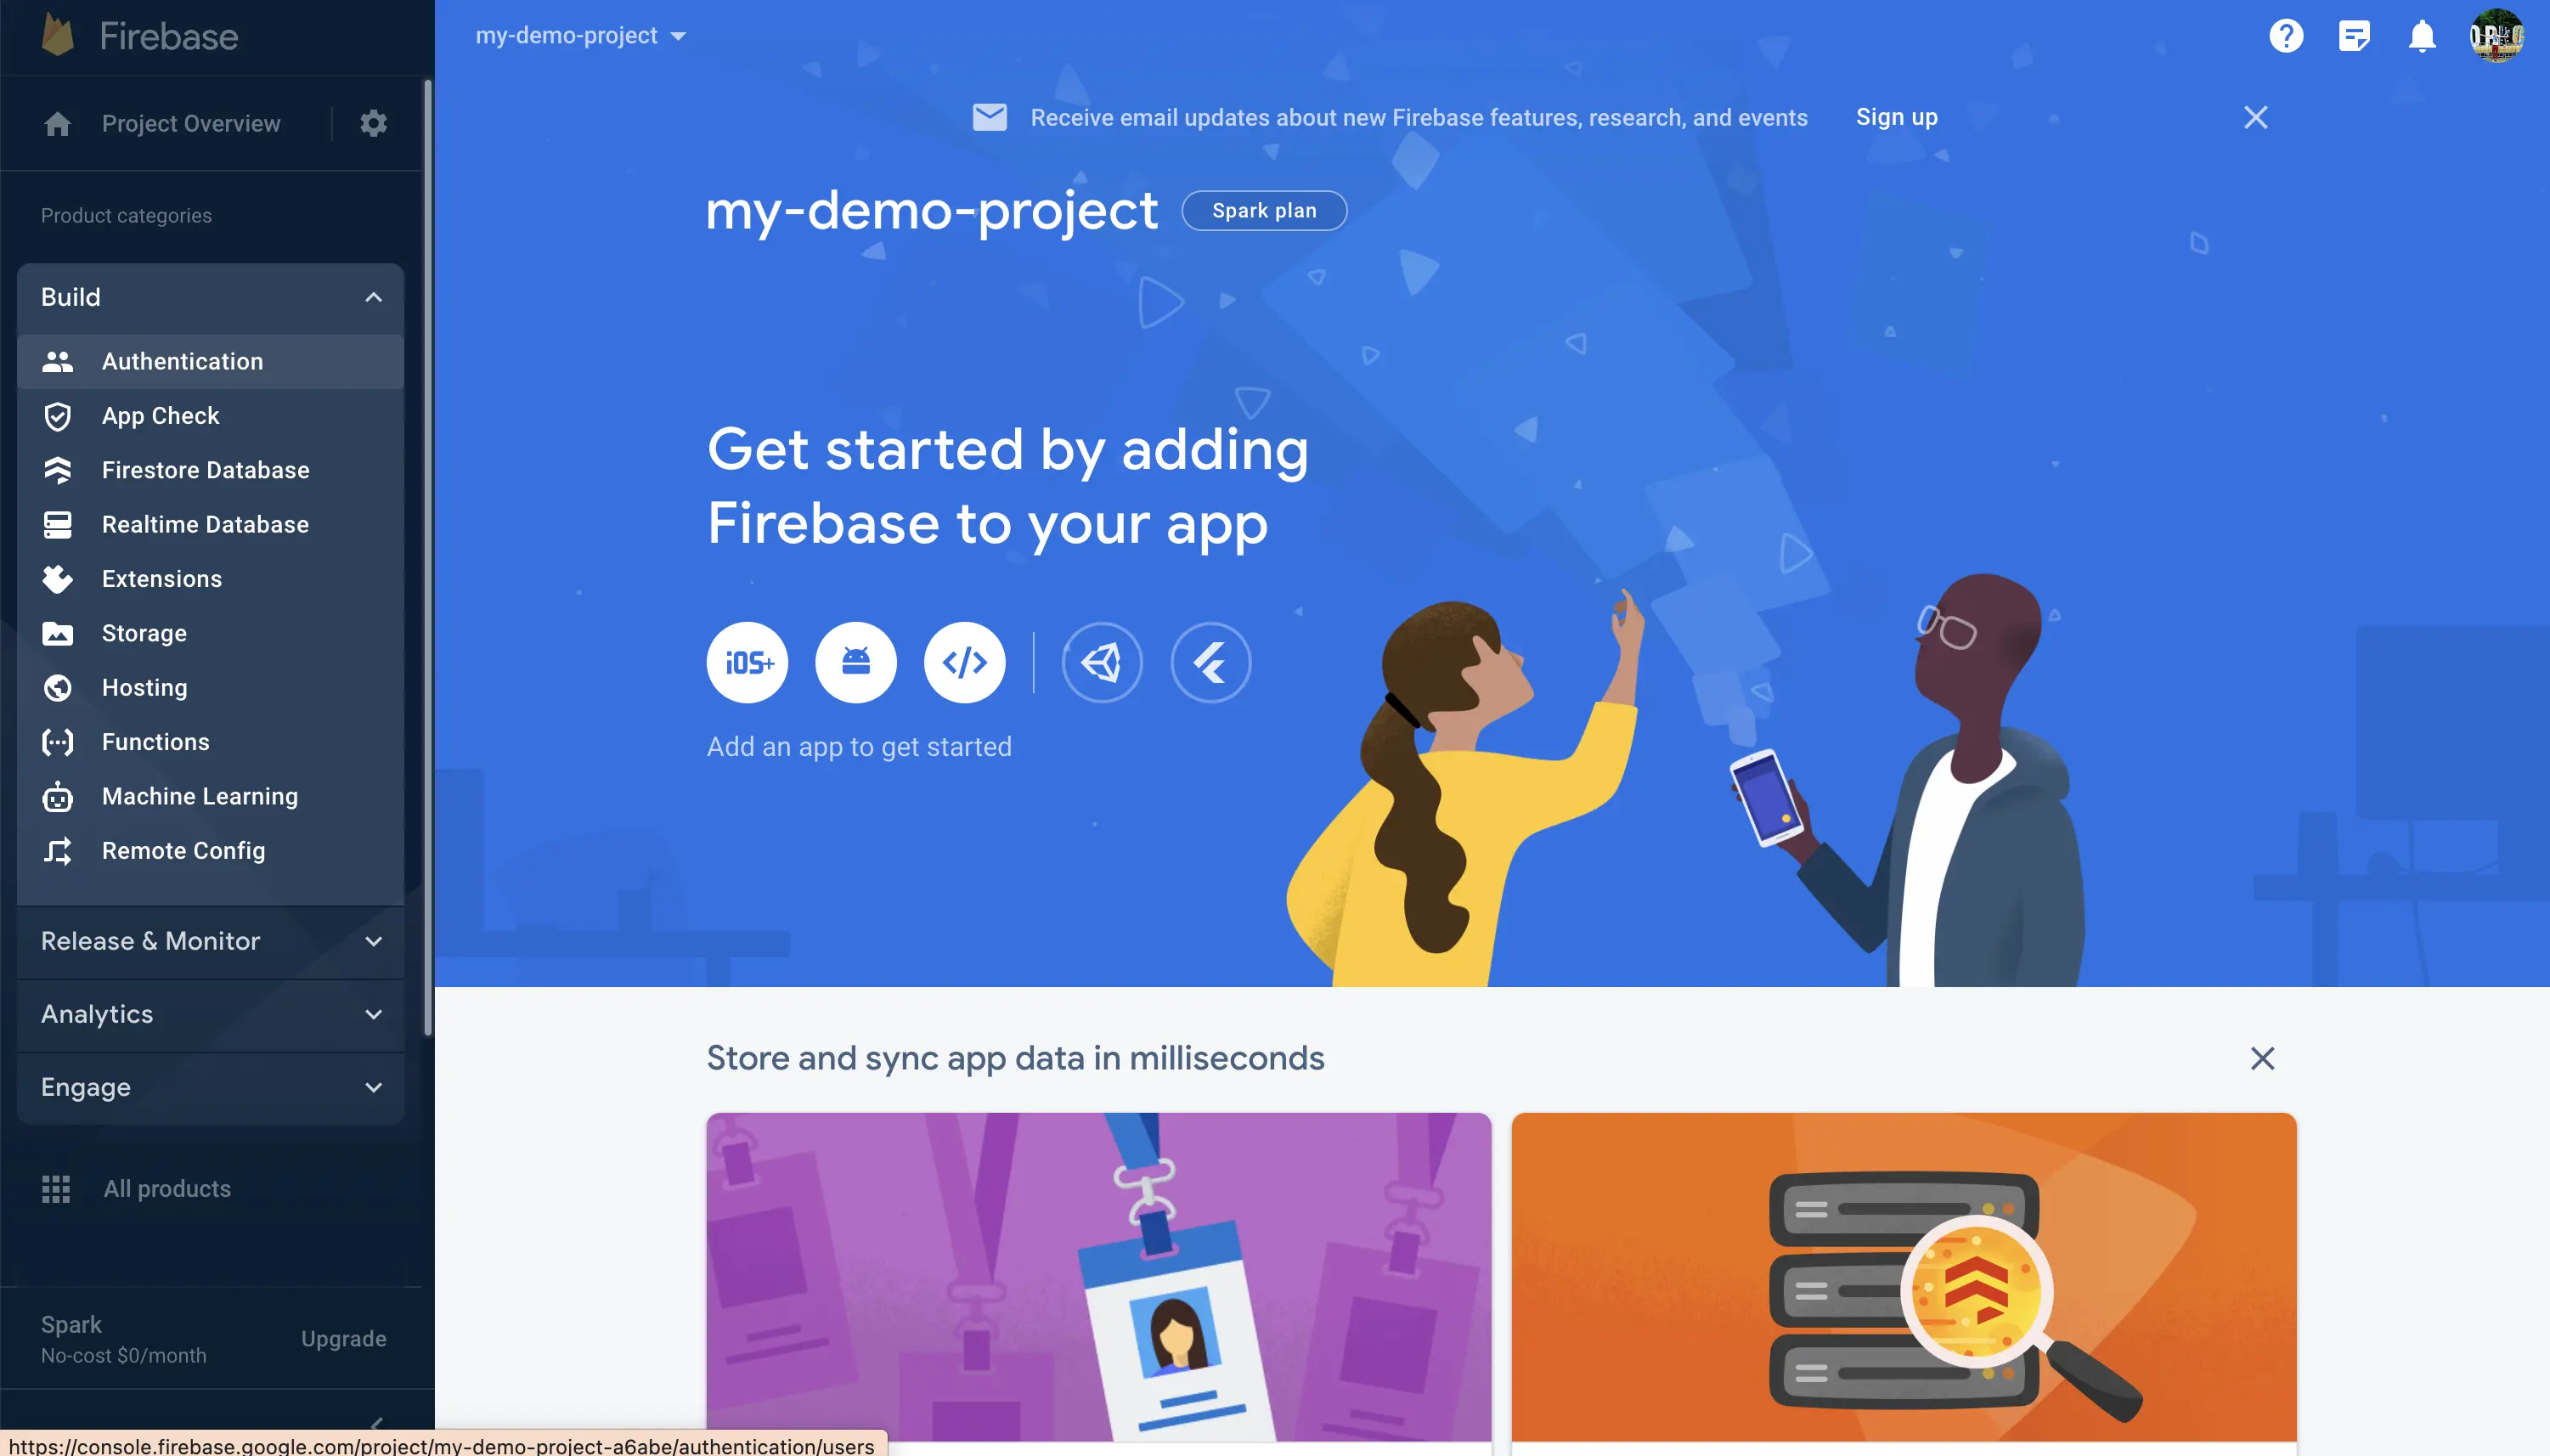
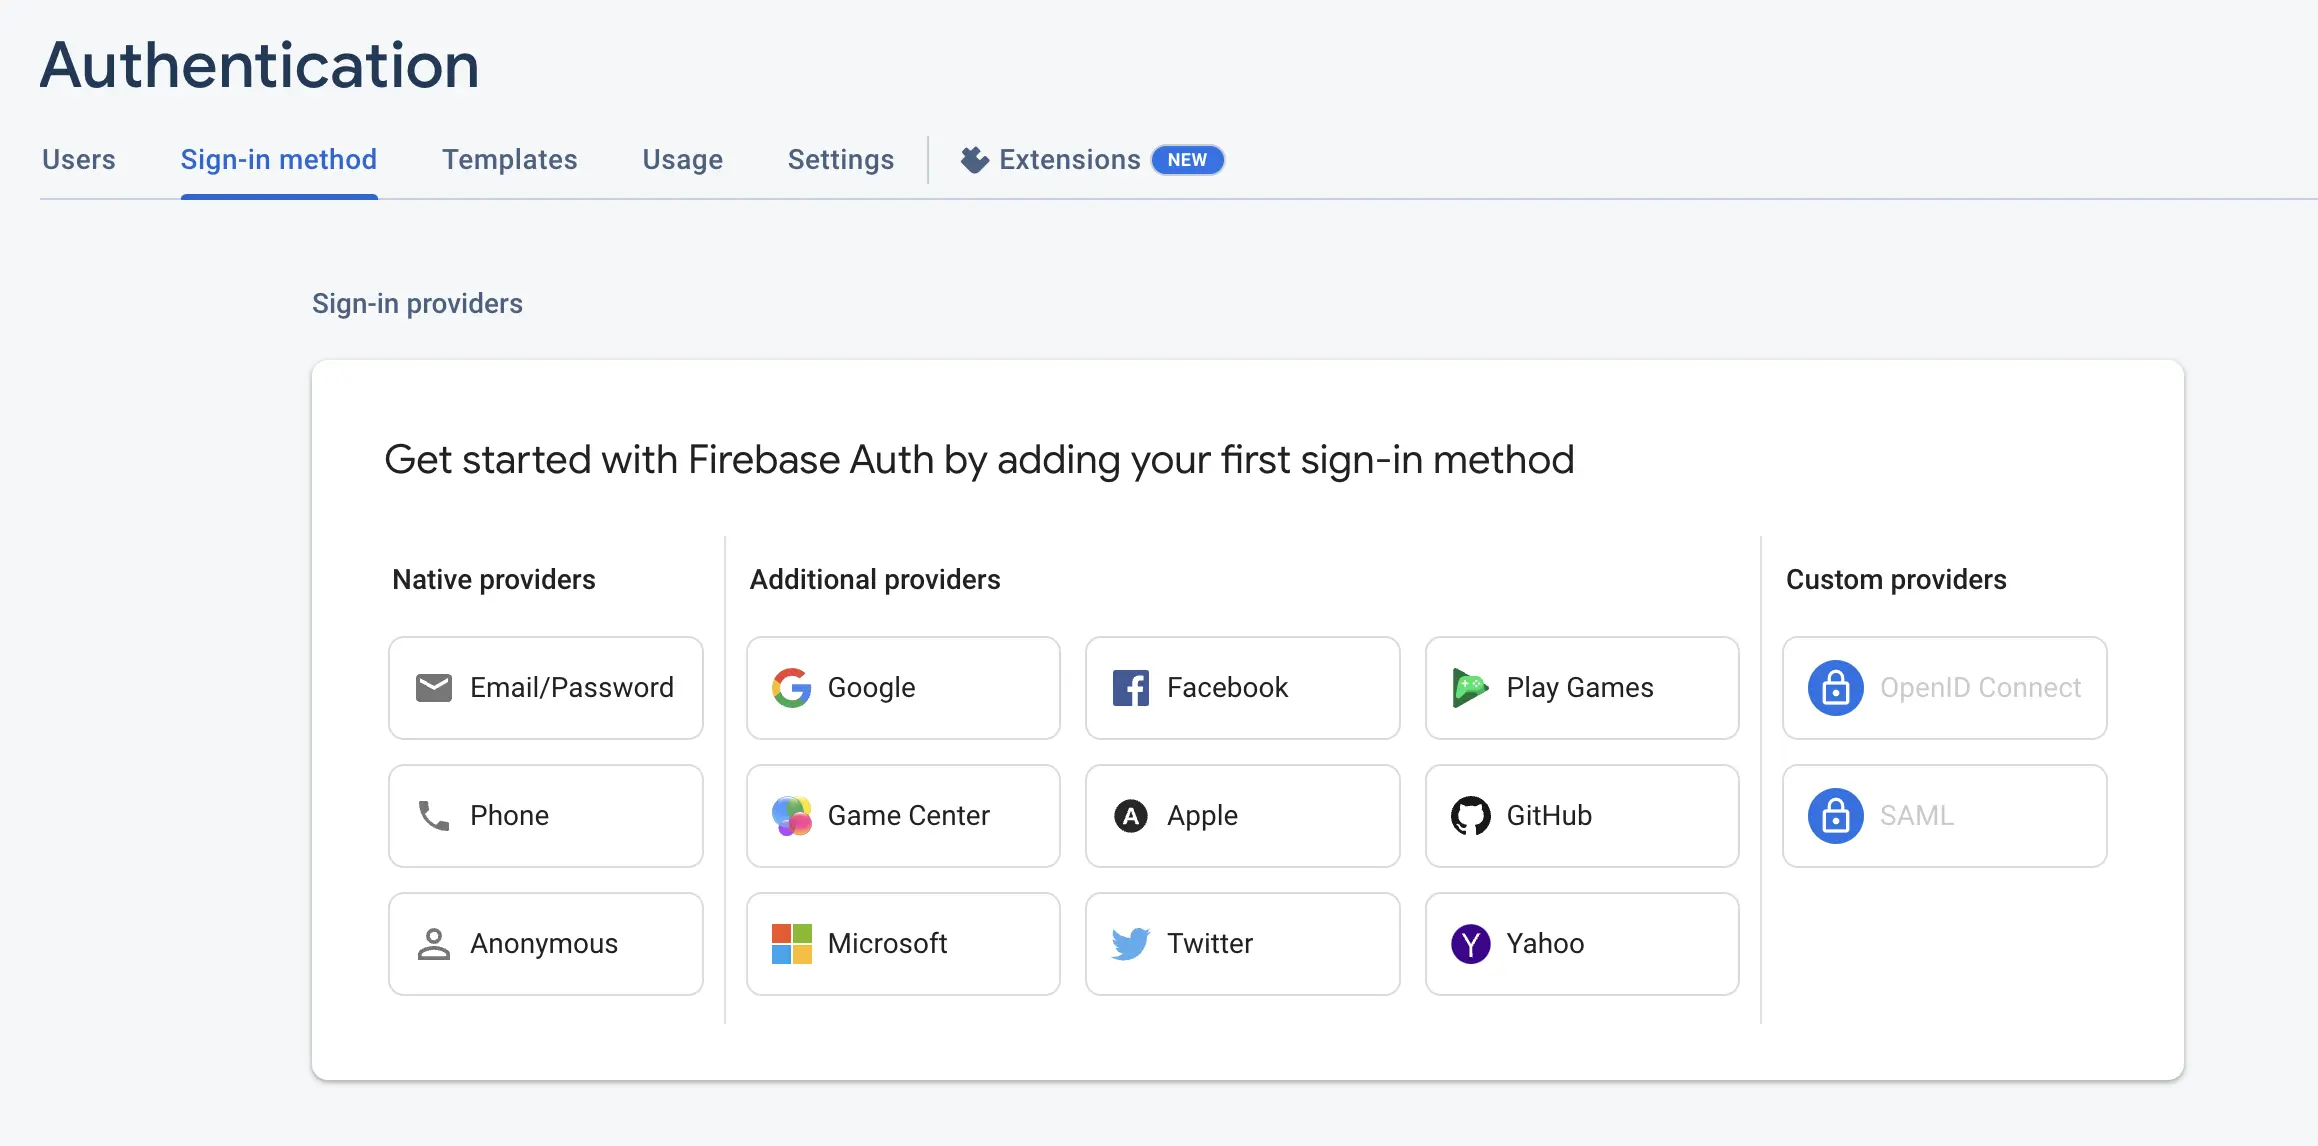
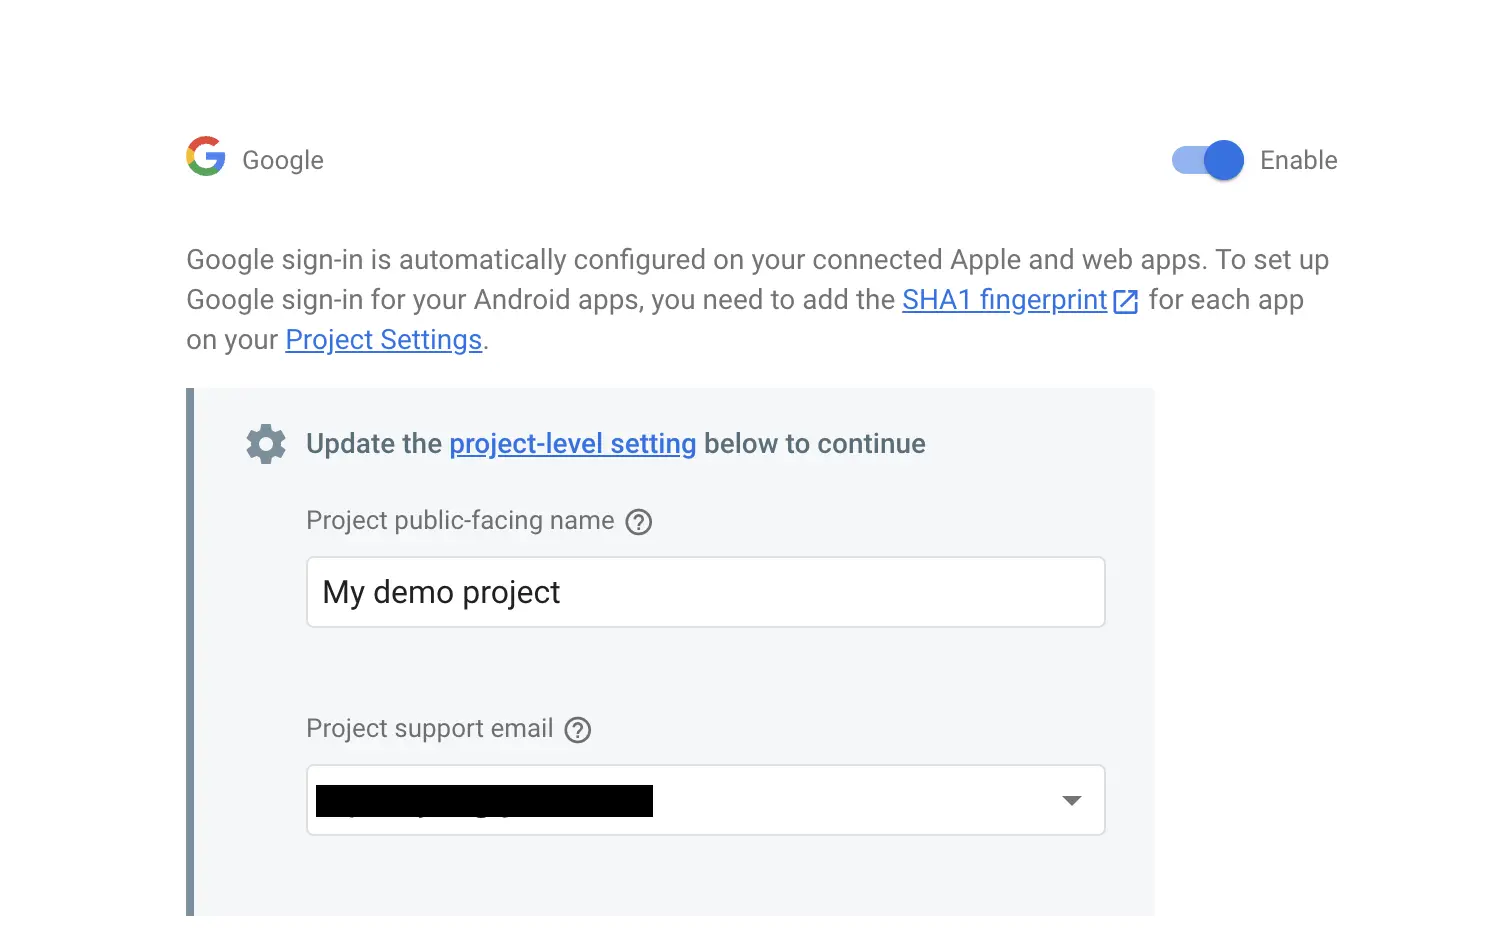
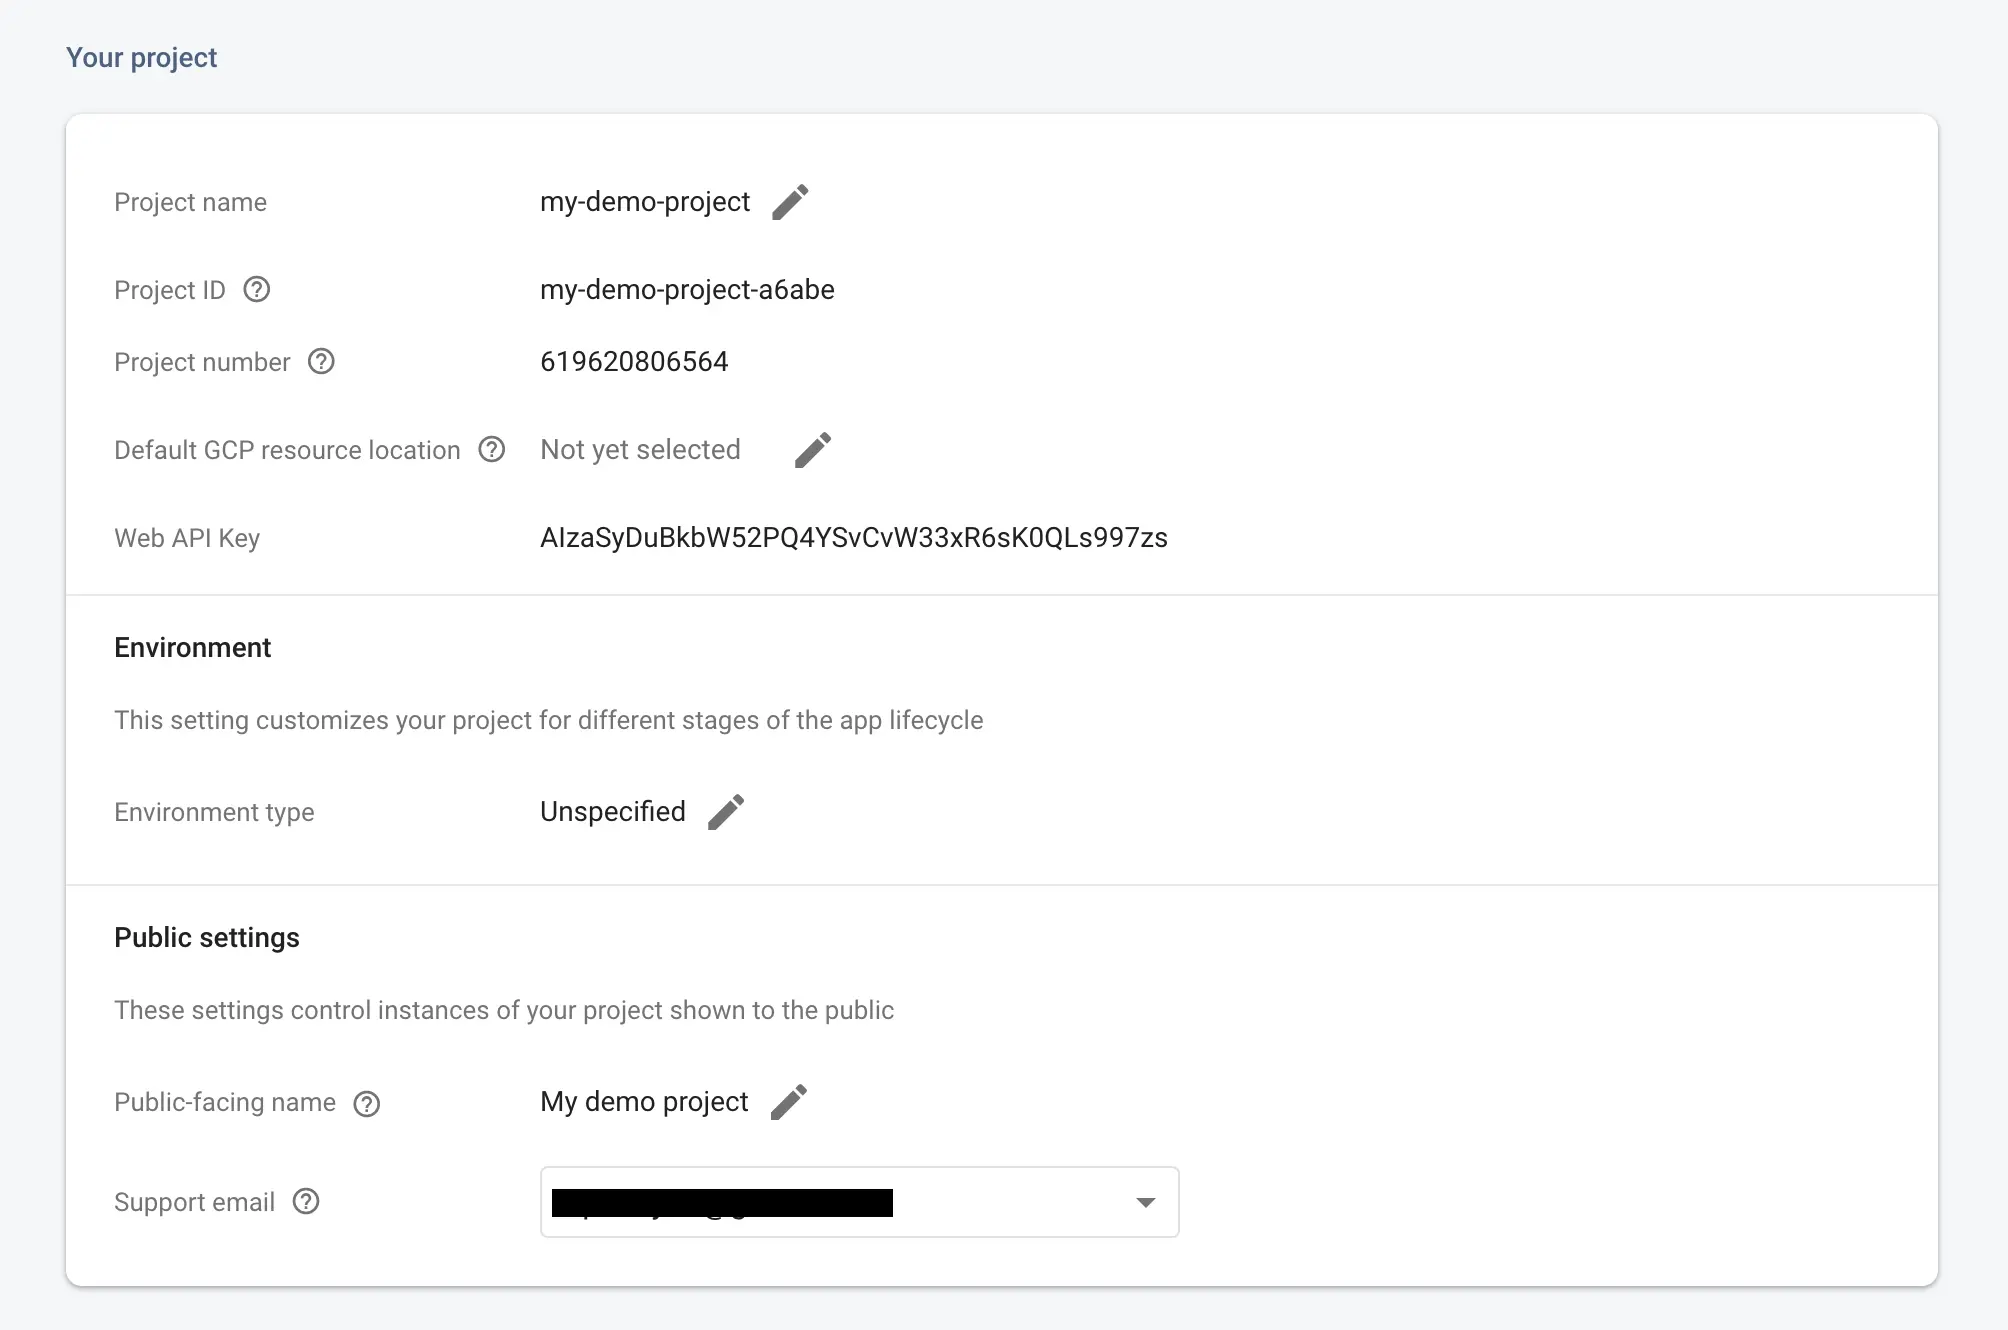
Firebase プロジェクトのセットアップ


dotenvを使用した Expo の追加設定
ios.bundleIdentifierとandroid.packageは、リリース部分で後で必要になります。認証ロジック
資格情報ファイル
.env ファイルを以下のように作成します。Google プロバイダからid_tokenを取得
useIdTokenAuthRequestというフックを使用します。promptAsyncGoogleは Google ログインをトリガーする関数ですgoogleResponseは Google ログインイベントのレスポンスを格納するものです
promptAsyncGoogle() を呼び出しましょう:googleResponse 変数が更新されます。id_token をリクエストするためだけのものです。これはまだ Firebase へのログインではありません。したがって、この呼び出しが成功した後に Firebase にログインする必要があります。Firebase ログインとユーザーのid_token
googleResponse変数を監視し、それが変更されたときにエフェクトを作成しましょう。id_token から作成できます。これを行うために、firebase パッケージで提供されているGoogleAuthProviderを使用します。useCallbackに移動させる方が良いでしょう。OAuthCredentialも firebase パッケージから来ています。signInResponseにuserが取得されるはずです。ユーザーをステートに保存し、SecureStorage での永続性を設定する
User タイプは firebase パッケージから来ています)authインスタンスのonAuthStateChangedプロパティにリスナーを追加する必要があります。SecureStorage で行います。SecureStorageには getItemAsync、setItemAsync、deleteItemAsync関数があり、これらはgetReactNativePersistenceを拡張したものと型が対応しています。SecureStorage はアルファベットまたは数字の値を含むキーしか保存できるないため、これらの関数からのキーをこのルールと互換性があるものに変換する必要があります。SecureStorageと互換性のある文字だけを保持する小さな正規表現の置換例です。TLDR.:
Scriptide
無料のIT相談をぜひご利用ください。。皆さまからのご相談を心よりお待ちしております。
最新の記事や限定コンテンツを購読する。
当社はお客様のデータを最大限の慎重さをもって取り扱います。「最新情報を受け取る」をクリックすると、Scriptide がマーケティング目的でお客様のデータを処理することに同意したものとみなされます。これにはメールの送信も含まれます。詳細は、プライバシーポリシーをご覧ください。
こちらの
詳細は
自動テストに
Scriptide
#dev
•
NOV 10, 2025
•
9 min read
詳細は
Lighthouse
Google Lighthouse
#dev
•
JUL 01, 2025
•
6 min read